2015 A Year in Pictures

I can't quite believe 2015 is already coming to a close, it's definitely been a bit of a whirlwind year with some great trips over the last 12 months. It's also the end of a chapter as i'll be leaving Hot Aches at the end of December after two years working with them. Hopefully 2016 will bring bigger and better things and i'm excited to see what the 2016 Year in Pictures will look like. As with last year's 'Year in Pictures' i've selected one photo from each month of the year.
January - Chamonix Snowstorm
I spent most of January in the French Alps, particularly around Chamonix and La Plagne. Although I ended up with a lot of ski photos there's something about this one of Chamonix Sud that I particularly like. I think it's the almost Pixar 'chocolate box' like nature of the trees and snow. Taken with a Speedlite to pick out the snowflakes.
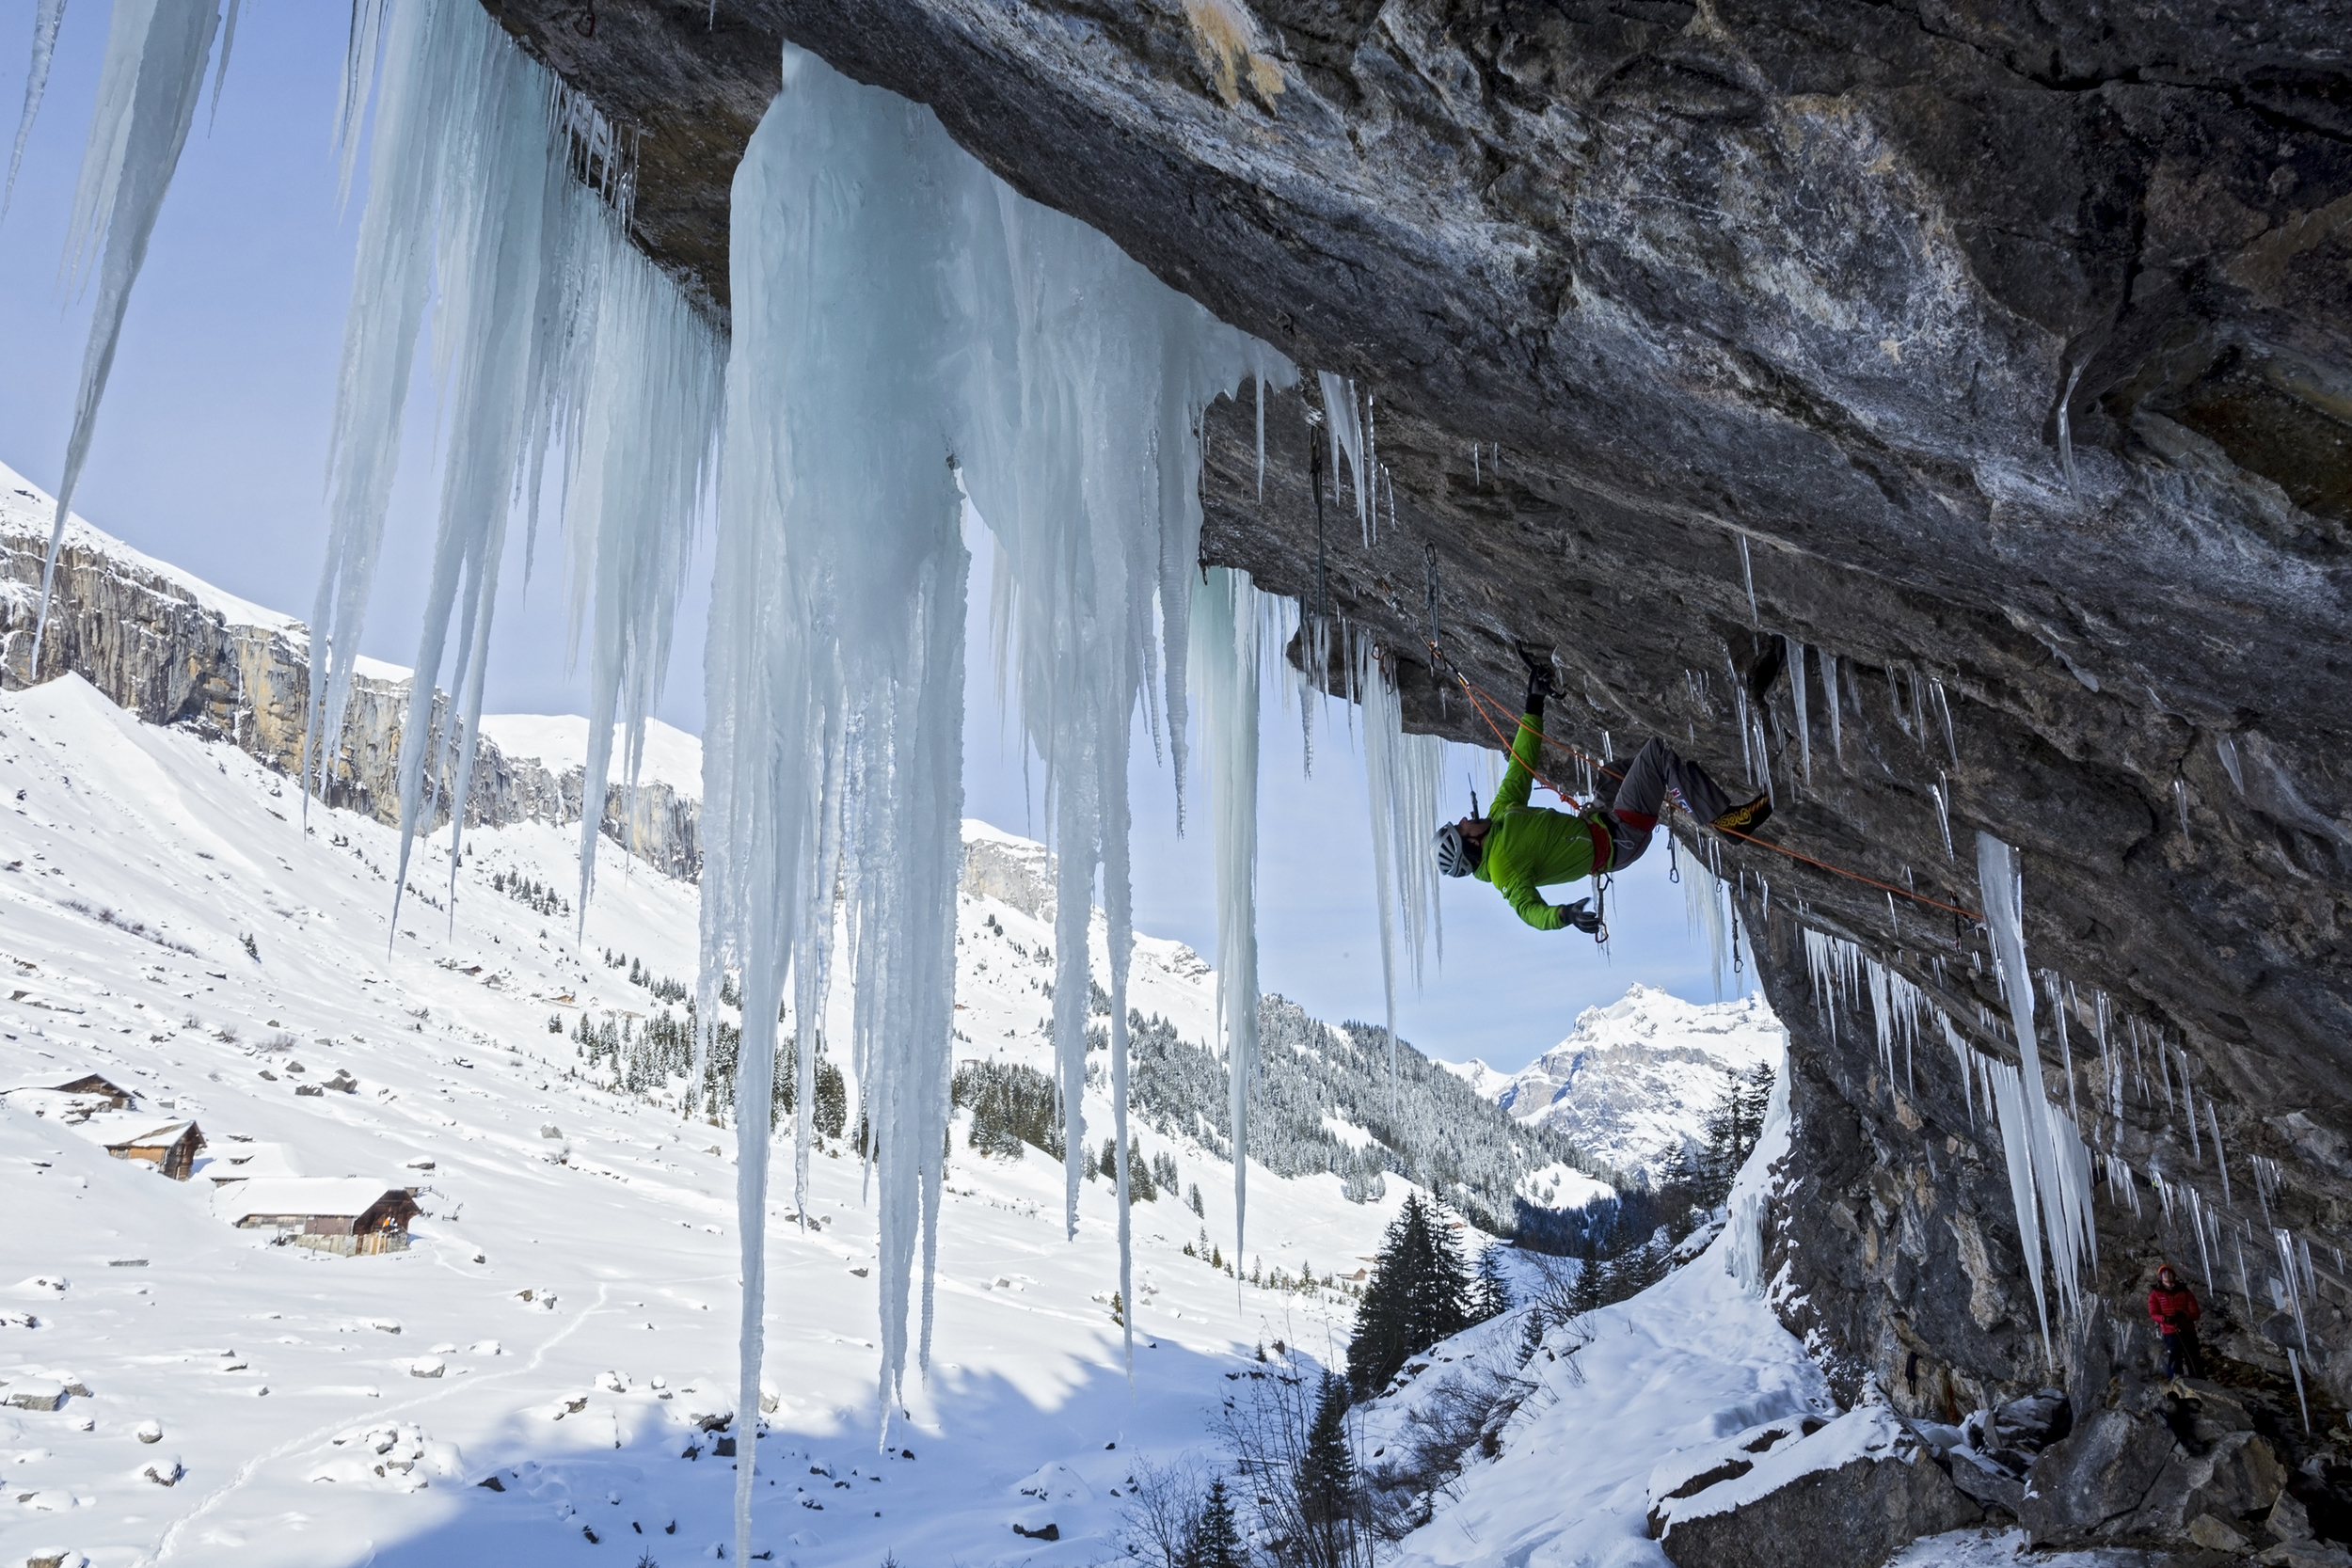
February - 'Transition', Beinn Udlaidh
February was spent shooting winter sequences for Hot Aches latest film 'Transition'. The Southern Highlands experienced some particularly cold weather in February and the area around the Bridge of Orchy came into good condition. This day at Beinn Udlaidh was particularly memorable with Dave MacLeod on the first ascent of 'Transition' (VI 7). The day became increasingly warm and the ice was melting rapidly, it was so hot I ended up filming in a t-shirt, although perhaps flippers and a snorkel would have been better!
March - Dave MacLeod, Pink Panther
The final winter shoot for 'Transition' took us to the Upper Cascade area of Ben Nevis and a rarely climbed ice route 'Pink Panther' (VI 6). After the poor weather of the previous winter shoots we were treated to bright sunshine and light winds, which made the whole experience a lot more enjoyable. After spending an hour excavating a ledge on the steep upper section of Number Three Gully I had a perfect camera position from which to shoot the route. The photo shows Dave MacLeod towards the top of the first pitch.
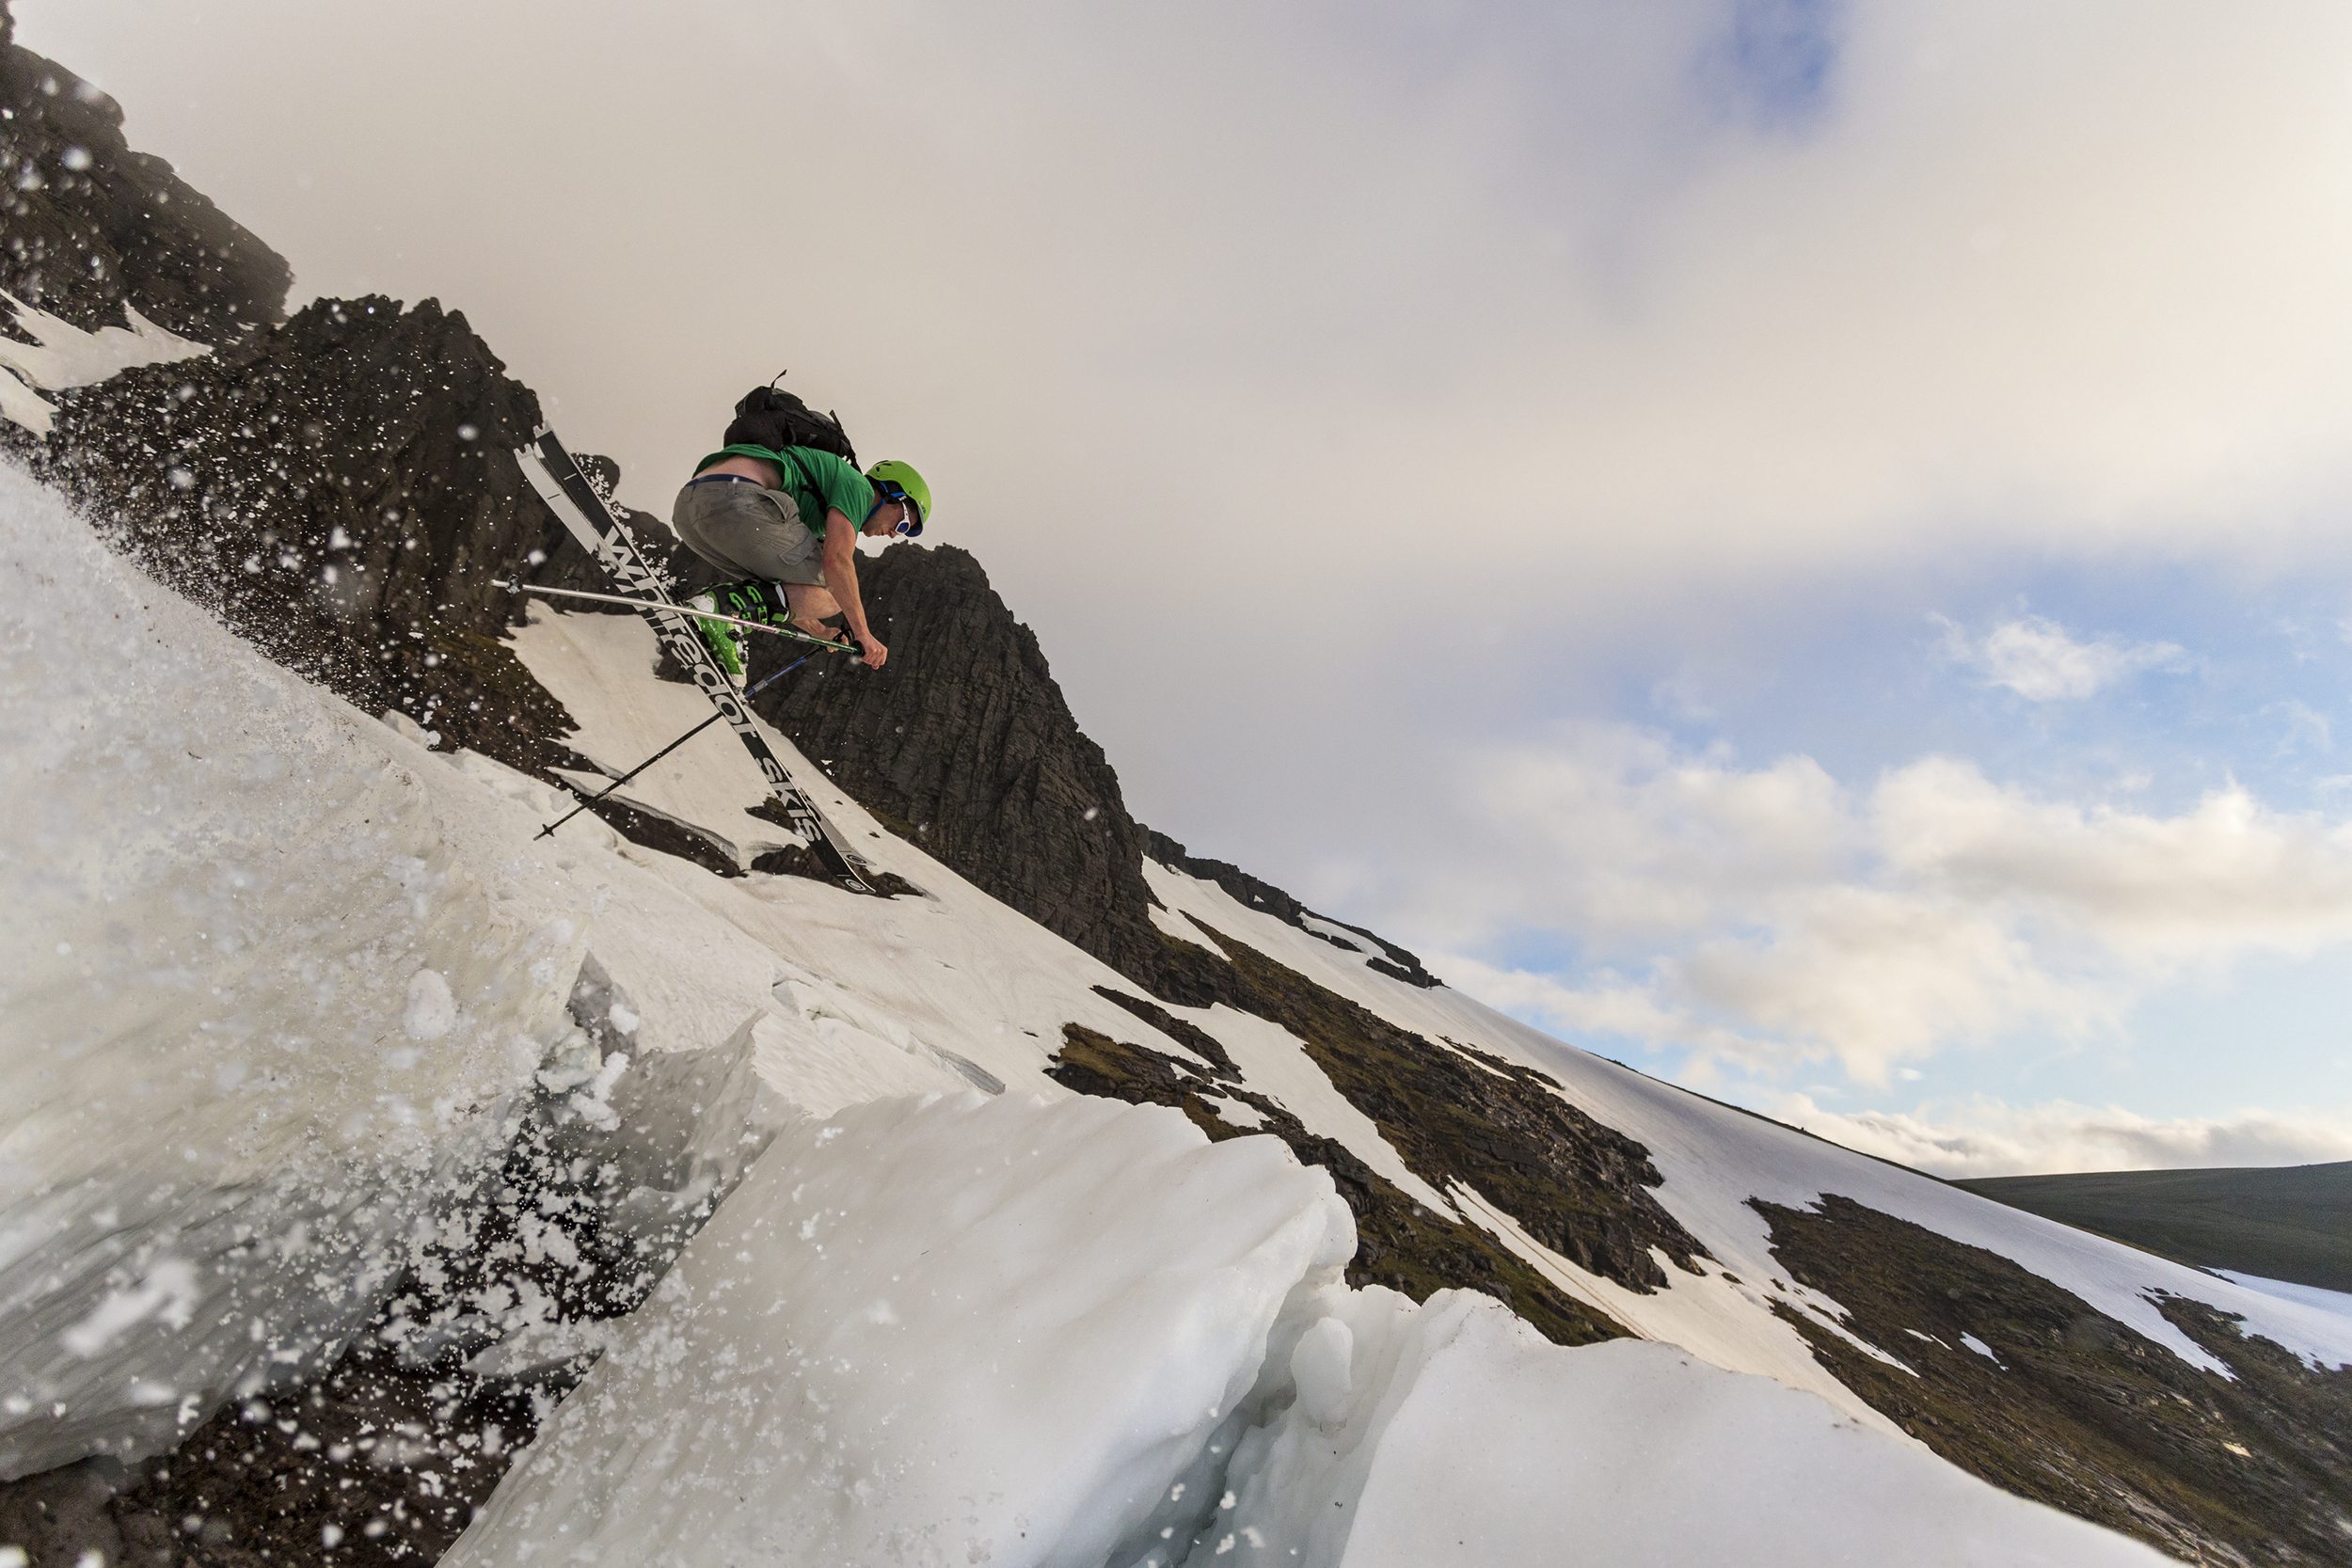
April - Forgotten Twin, AONACH MOR
April brought some of the best snow conditions of the winter to the Scottish Highlands and I spent a lot of time backcountry skiing. The huge amount of snowfall also lead to some monster sized cornices and this one was no exception. Peter MacKenzie making the 8 metre drop from the cornice on the second descent of 'Forgotten Twin' on Aonach Mor. This definitely felt like one of the more sketchy photos of the year, especially as the cornice was grossly overhanging and I only had a rope around the waist attached to a buried ski for safety!
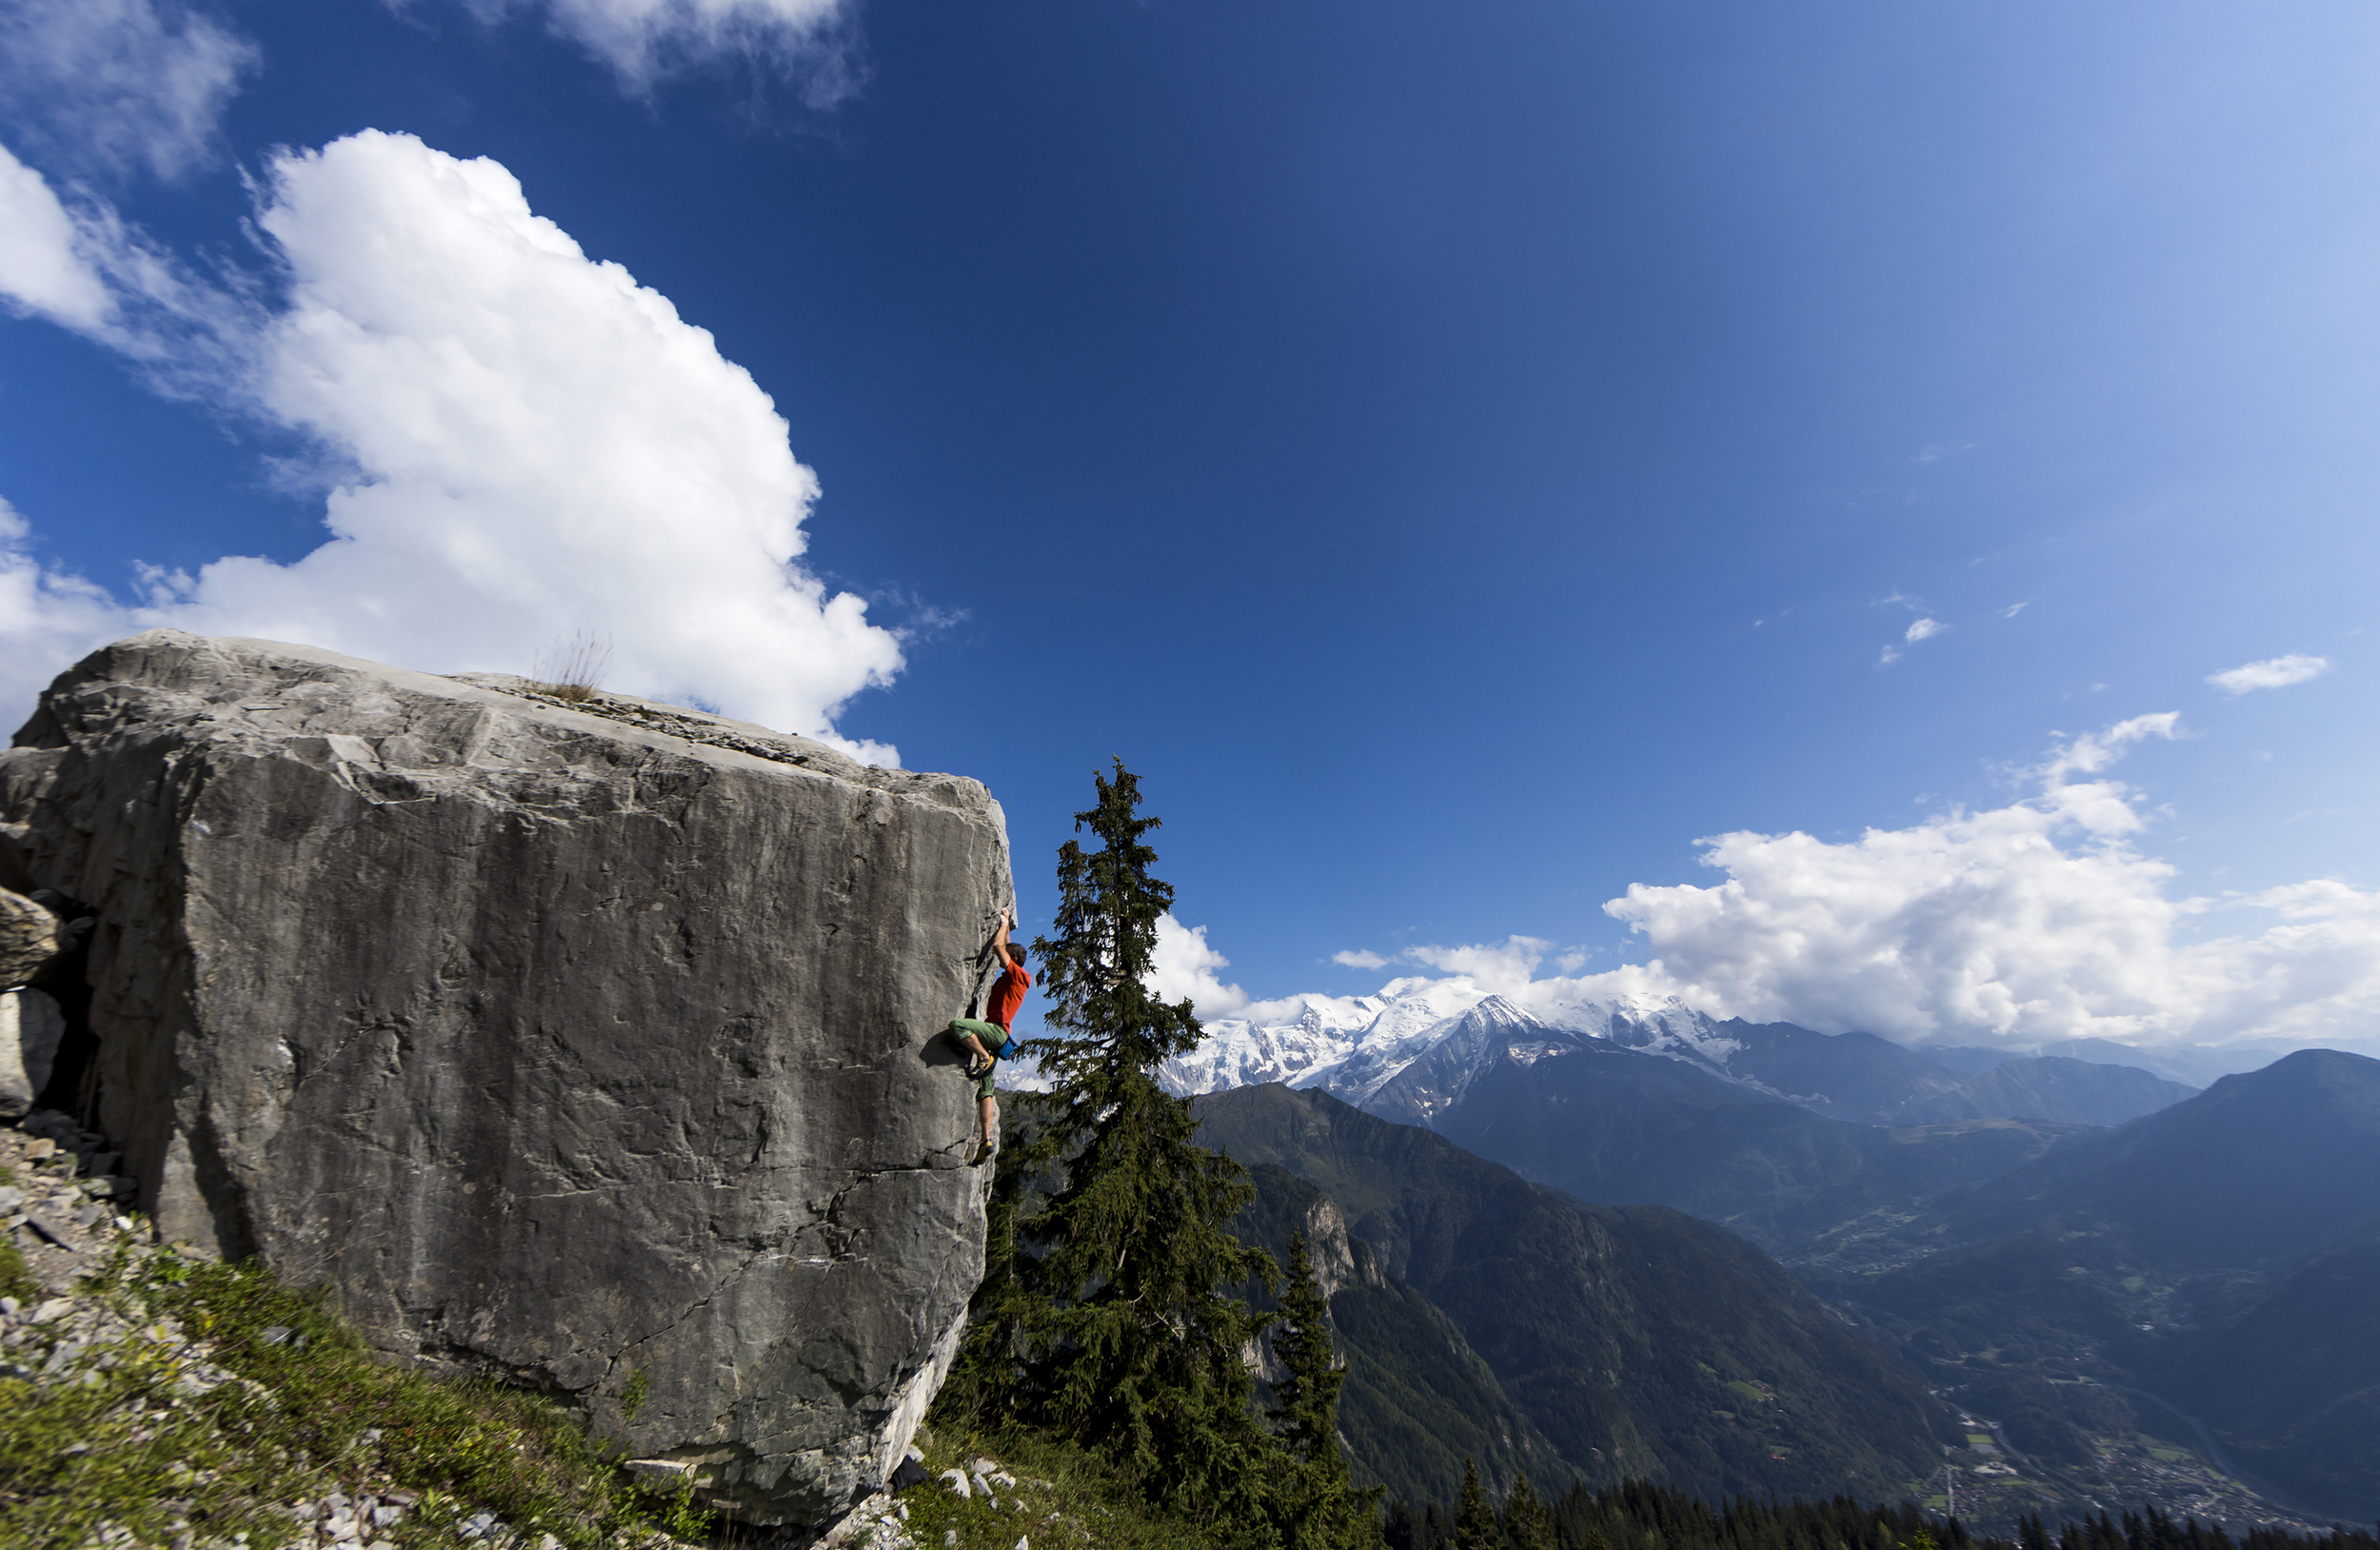
May - Finale Ligure
At the end of April I headed out to Finale Ligure in Northern Italy with the staff from UKClimbing.com. I'd visited the area 8 years ago and it was great to be back again. Much less popular than a lot of the other European sport destinations it still has a wide variety of climbing styles on great rock. Martin Mckenna climbing 'La Cengia Allegra' at Bric Scimarco.
June - Fort WilliaM World Cup
Most definitely the muddiest shoot of 2015 with three days of almost never ending rain at the Fort William Downhill World Cup. With mud up to your waist in places it was a pretty challenging environment to take photos in. Fortunately the rain stopped for five minutes and I was able to get a couple of useable shots.
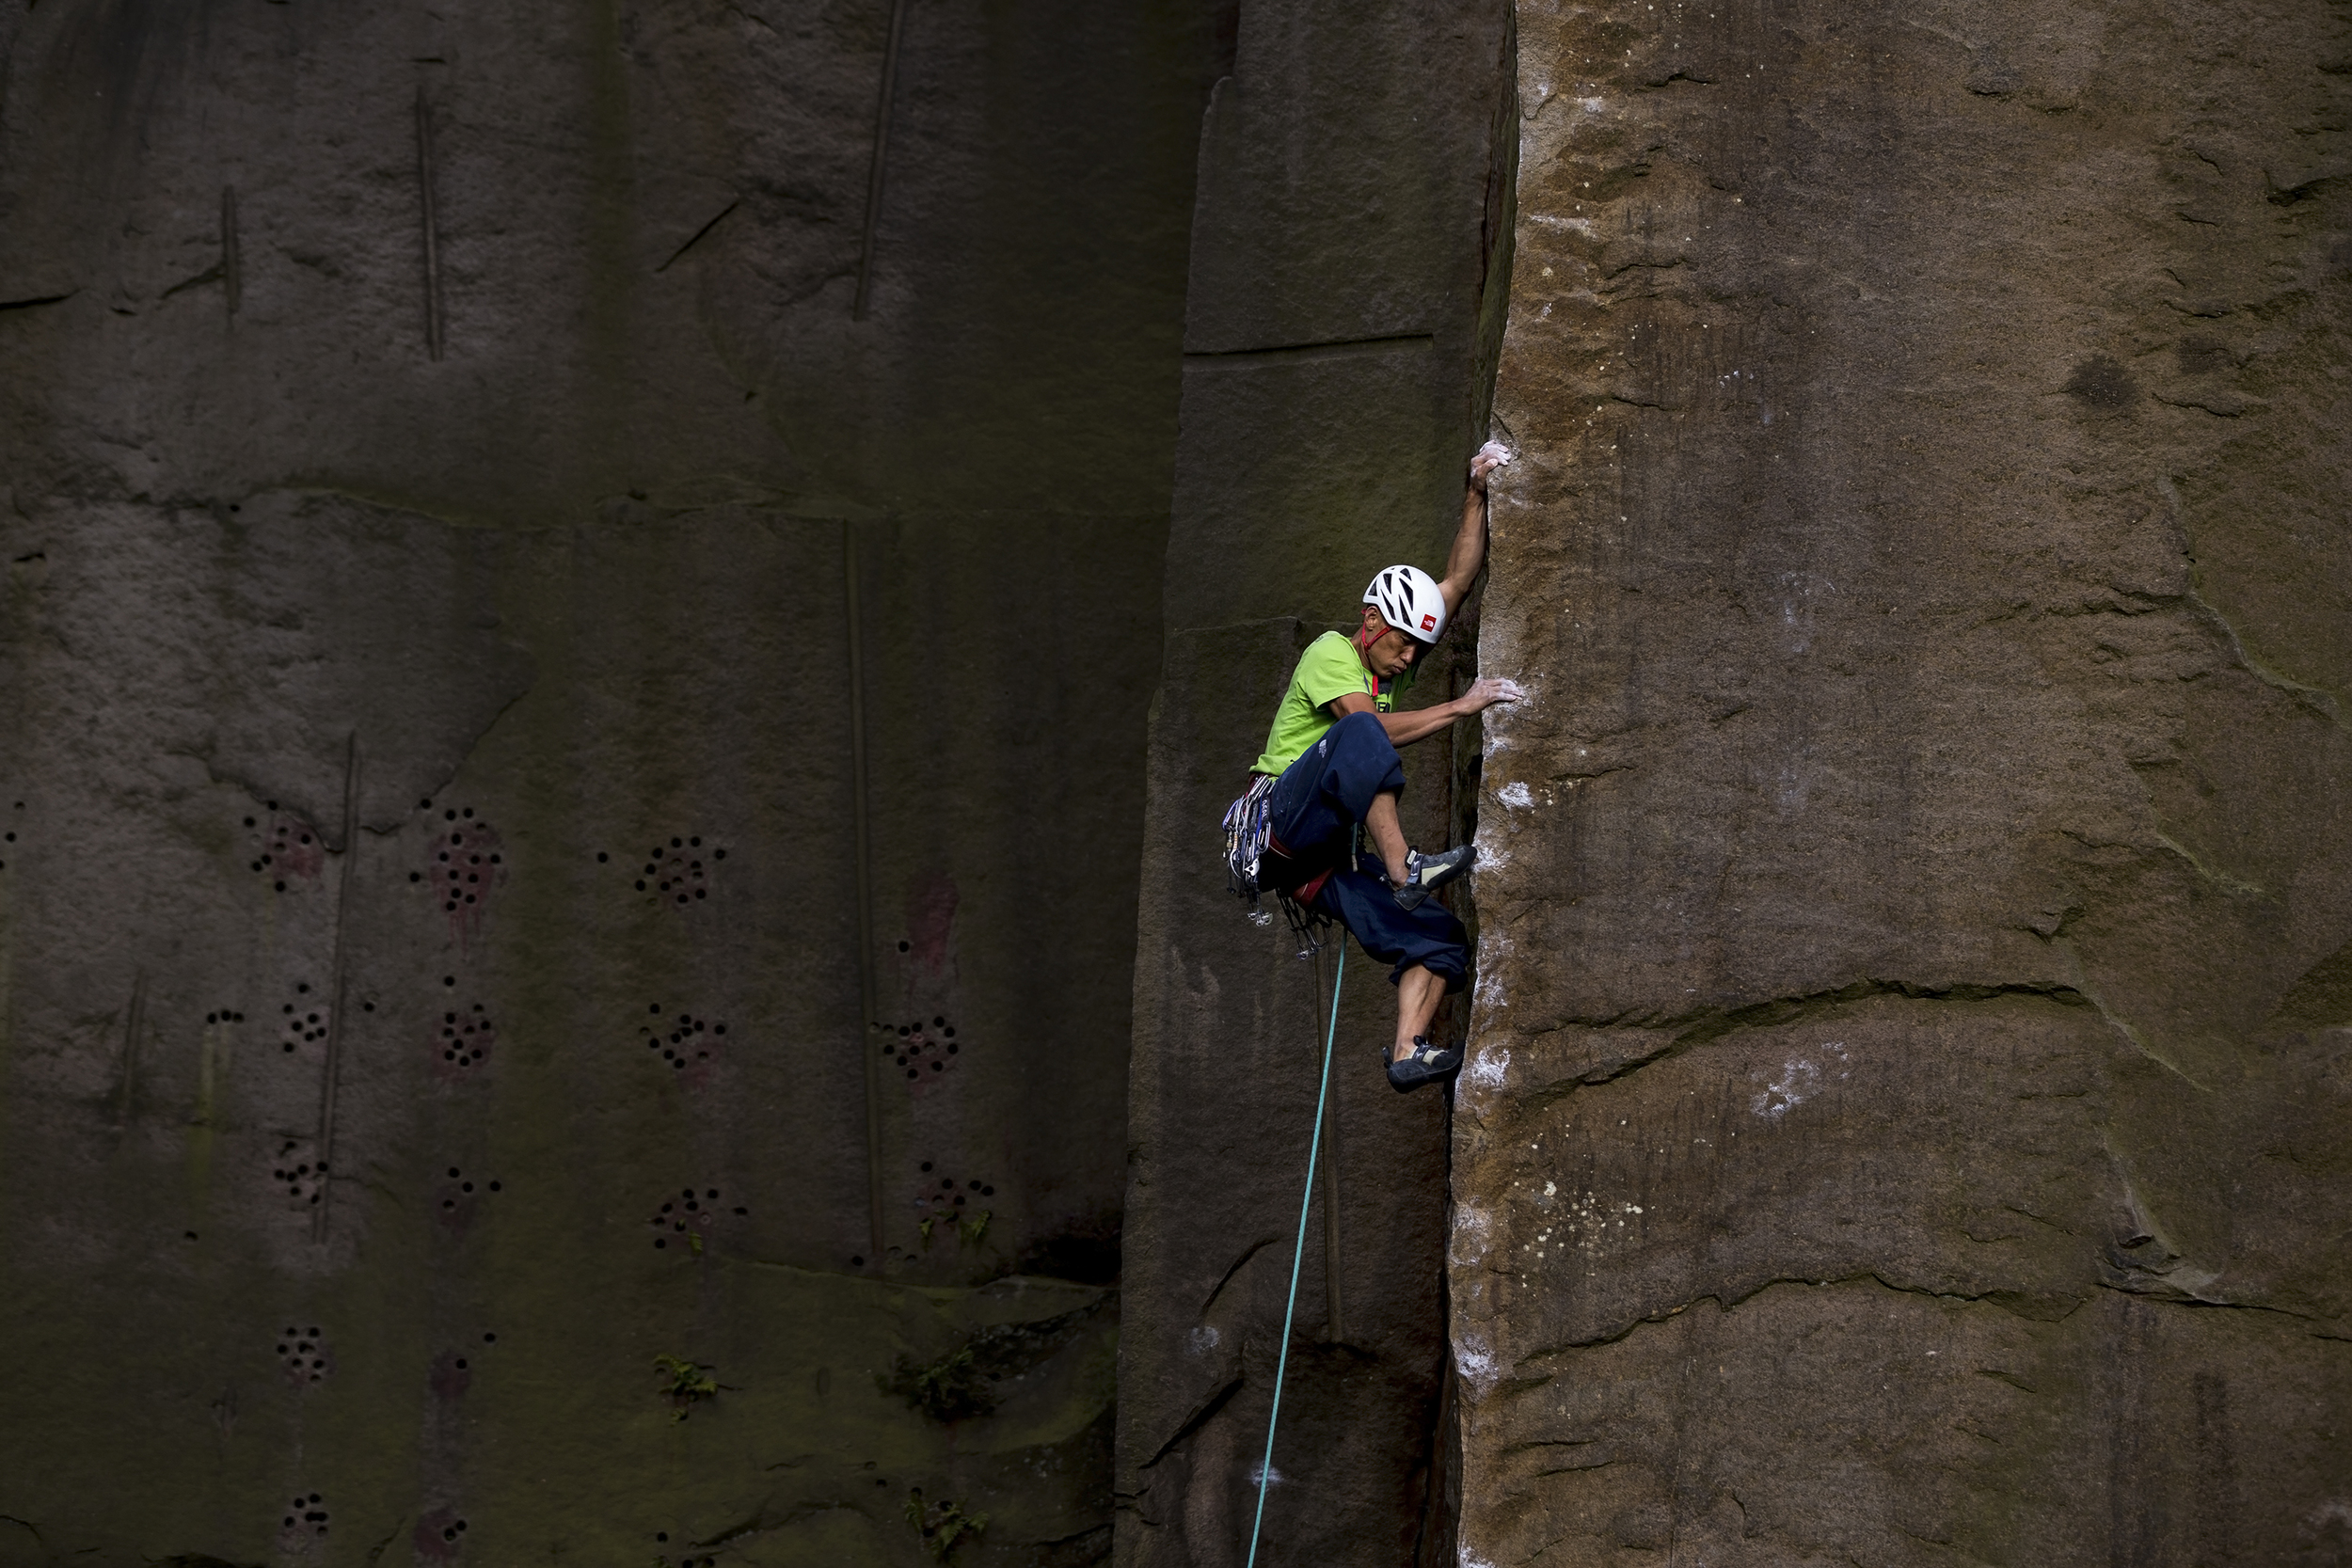
July - Tom Randall, The Kraken
Agreeing to make a film about a hard boulder project in Devon when based in Edinburgh is always going to be a big commitment especially as it's a 16 hour round trip with no guarantee of success. It was worth it though to shoot Tom Randall of 'Wide Boyz' fame on the first ascent of 'The Kraken' (V13), the hardest crack boulder problem in the world. It was a pretty challenging route to shoot with the combination of a dark gloomy cave and brightly lit beach but after a lot of playing around it worked out pretty well using a couple of Speedlite flashes. The photo was used in the October issue of Climb magazine.
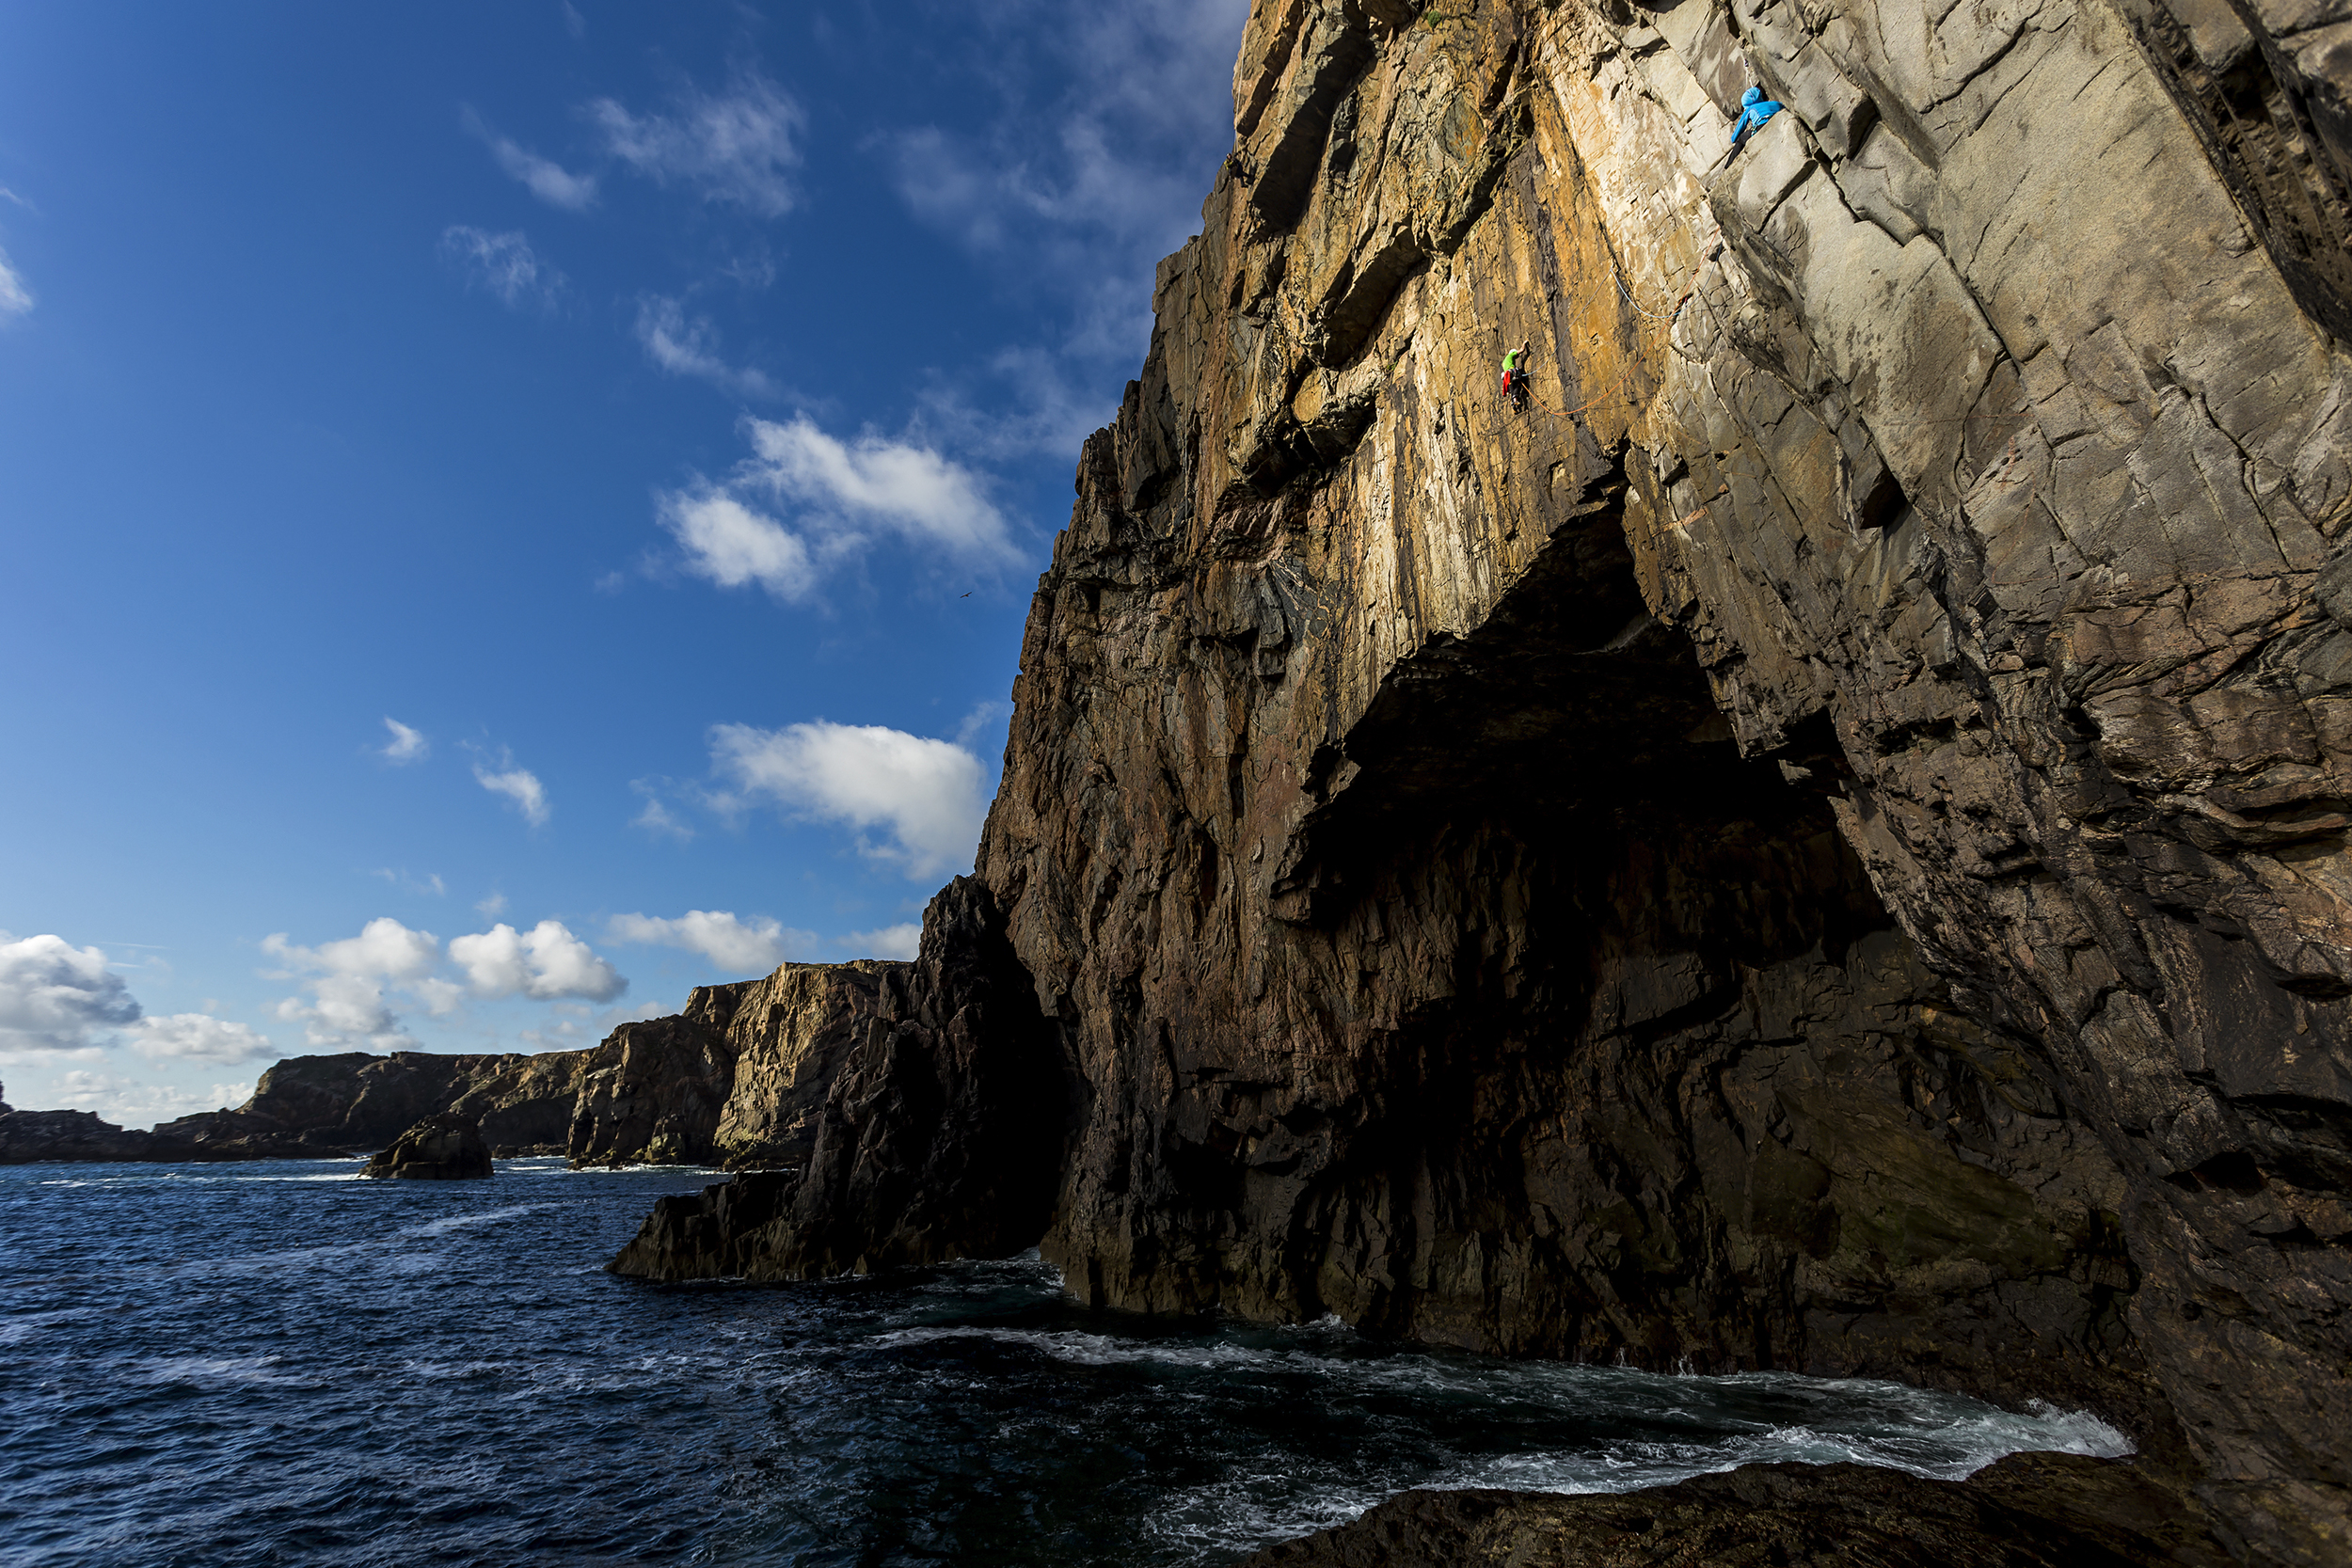
August - Hazel Findlay, Horizons
The Lofoten Islands has been top of places i've wanted to visit for a number of years after reading an old tatty 1902 Alpine Club journal about one of the first trips there. Fortunately in August I was asked by Cut Media to be involved with a project they were shooting for Sky 1 to support a new series 'You, Me and the Apocalypse'. We spent a week shooting there with Hazel Findlay, with the main part of the shoot taking pace on the upper sections of 'Presten', one of the most iconic mountains in the islands. This day was by far the most challenging with a lot of logistics involved to get the portaledge into position. Despite it being the middle of summer it was absolutely freezing out of the sun! Watch the film 'Horizons' here.
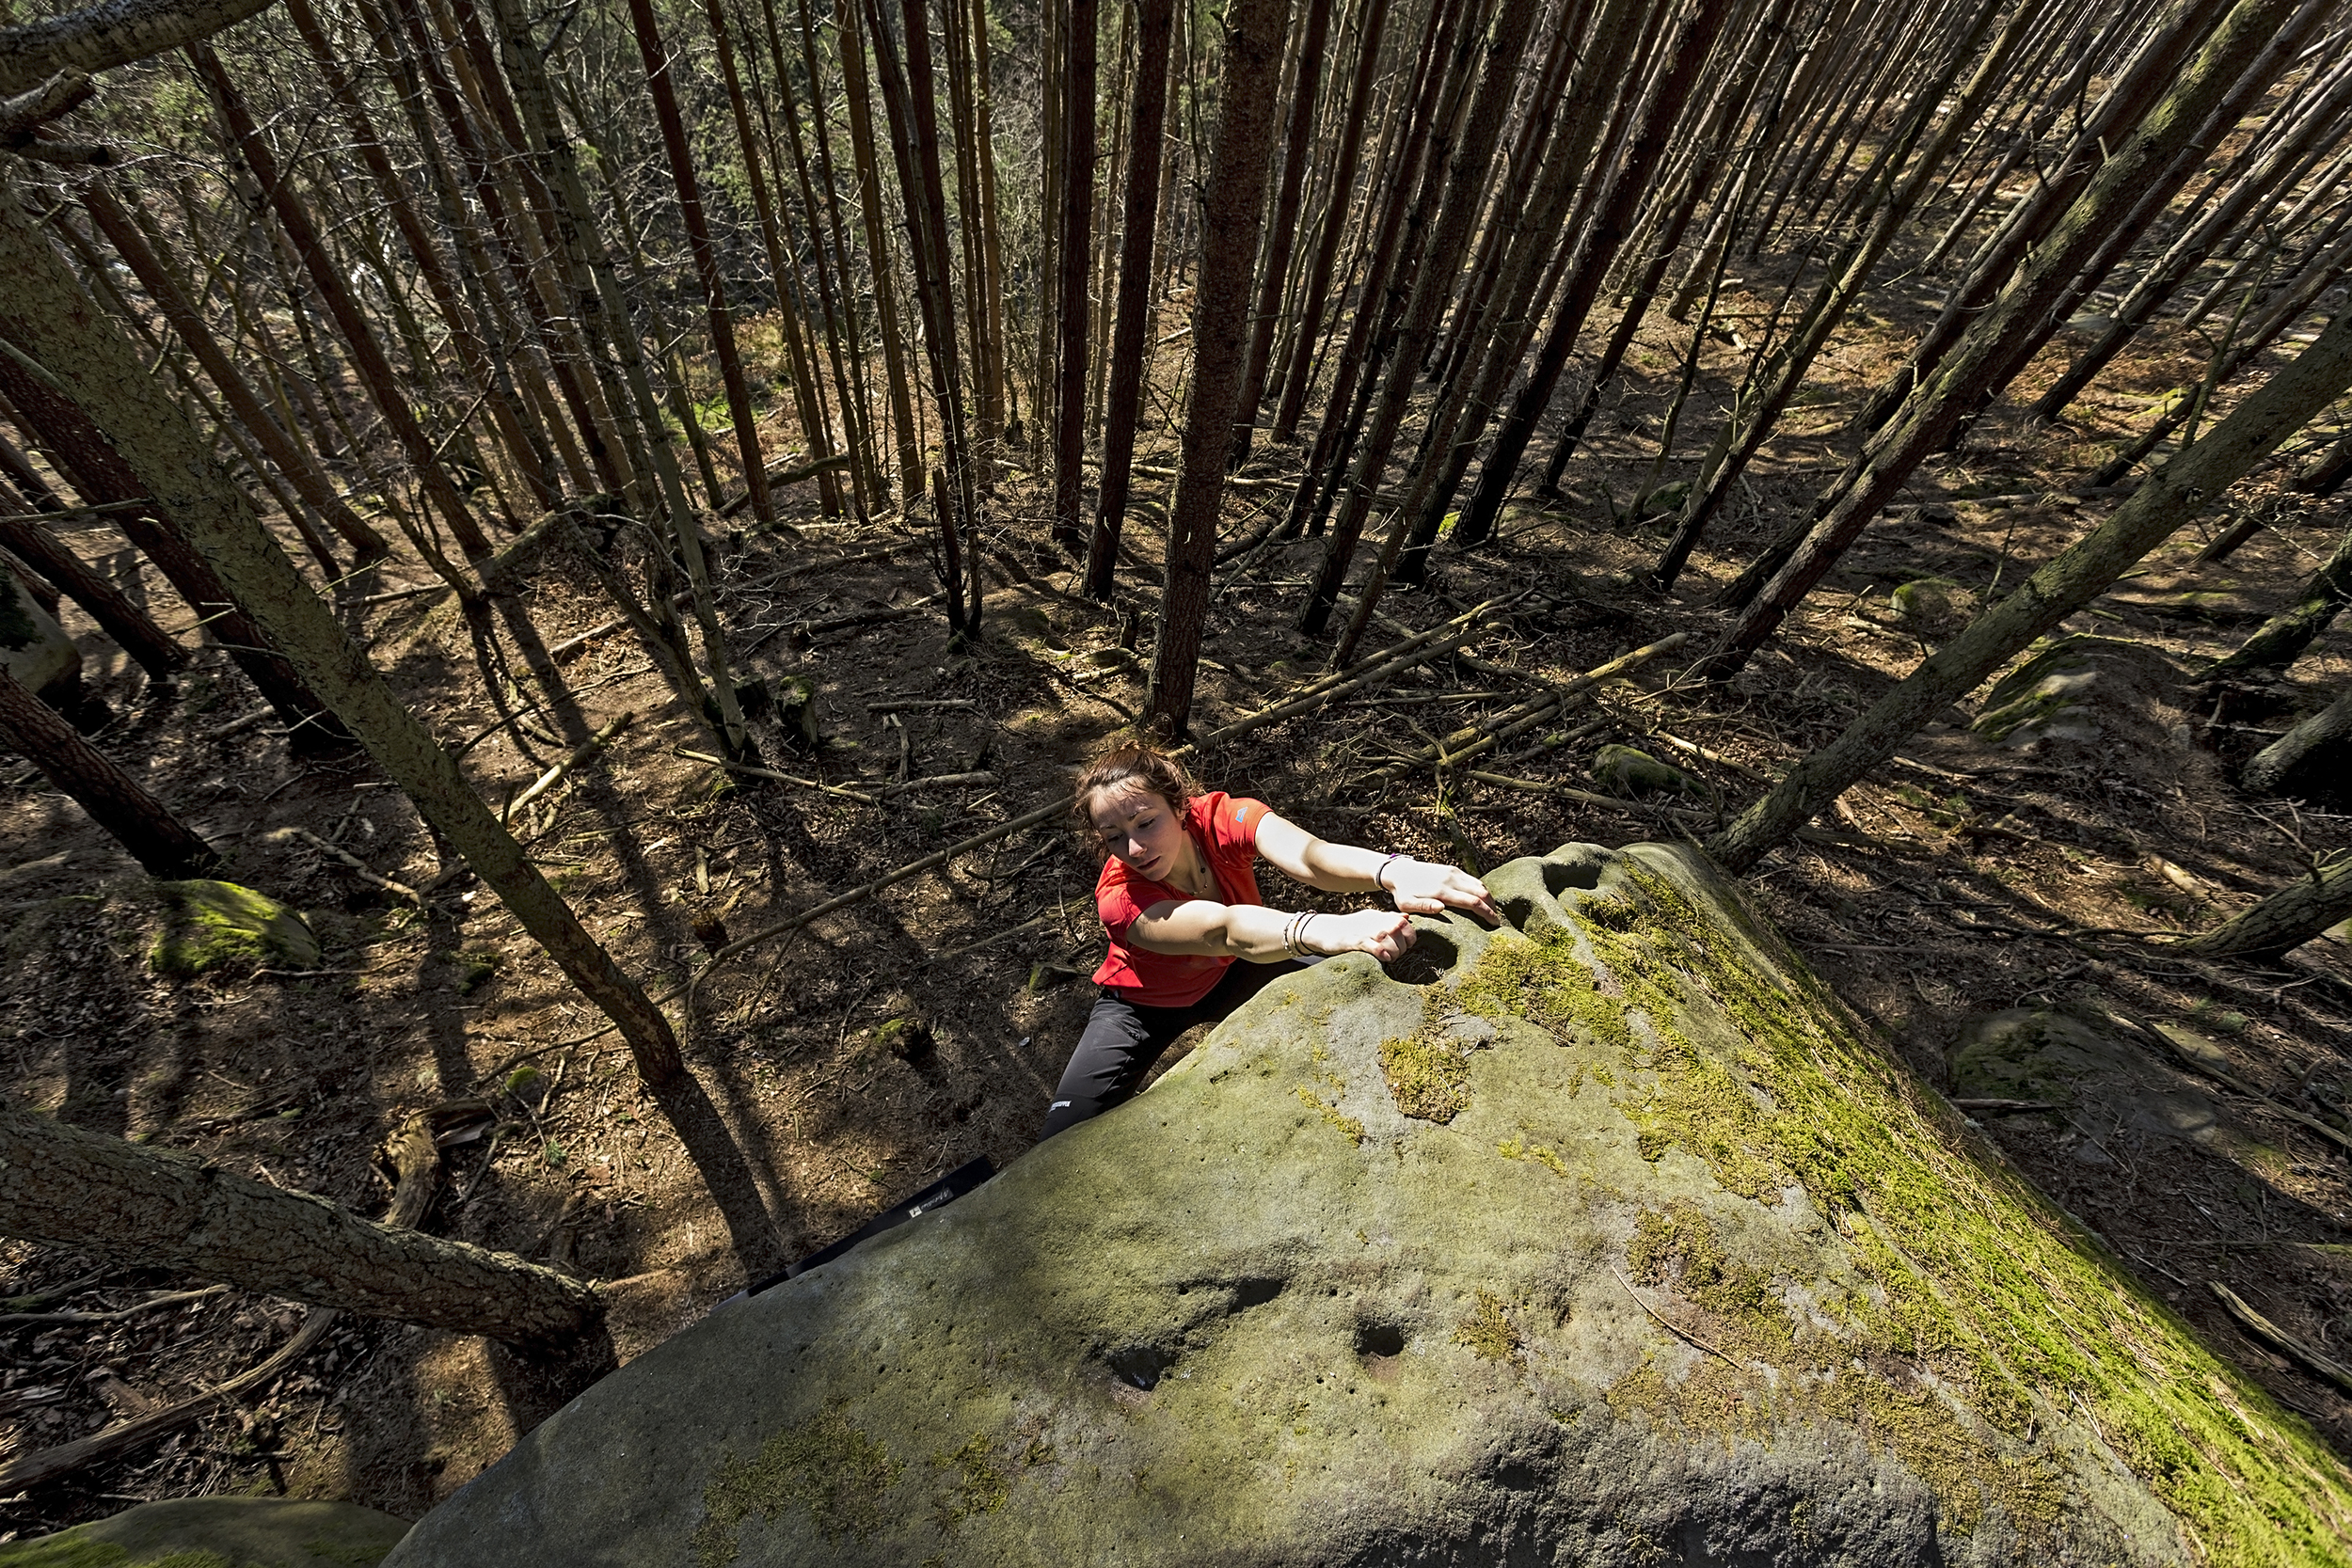
September - God's Own Country
It's hard to beat a chilled out evening of warm sunny bouldering on the gritstone edges of Yorkshire and the Peak District. This day was no exception. Natalie Berry bouldering at Almscliffe in 'God's Own Country'.
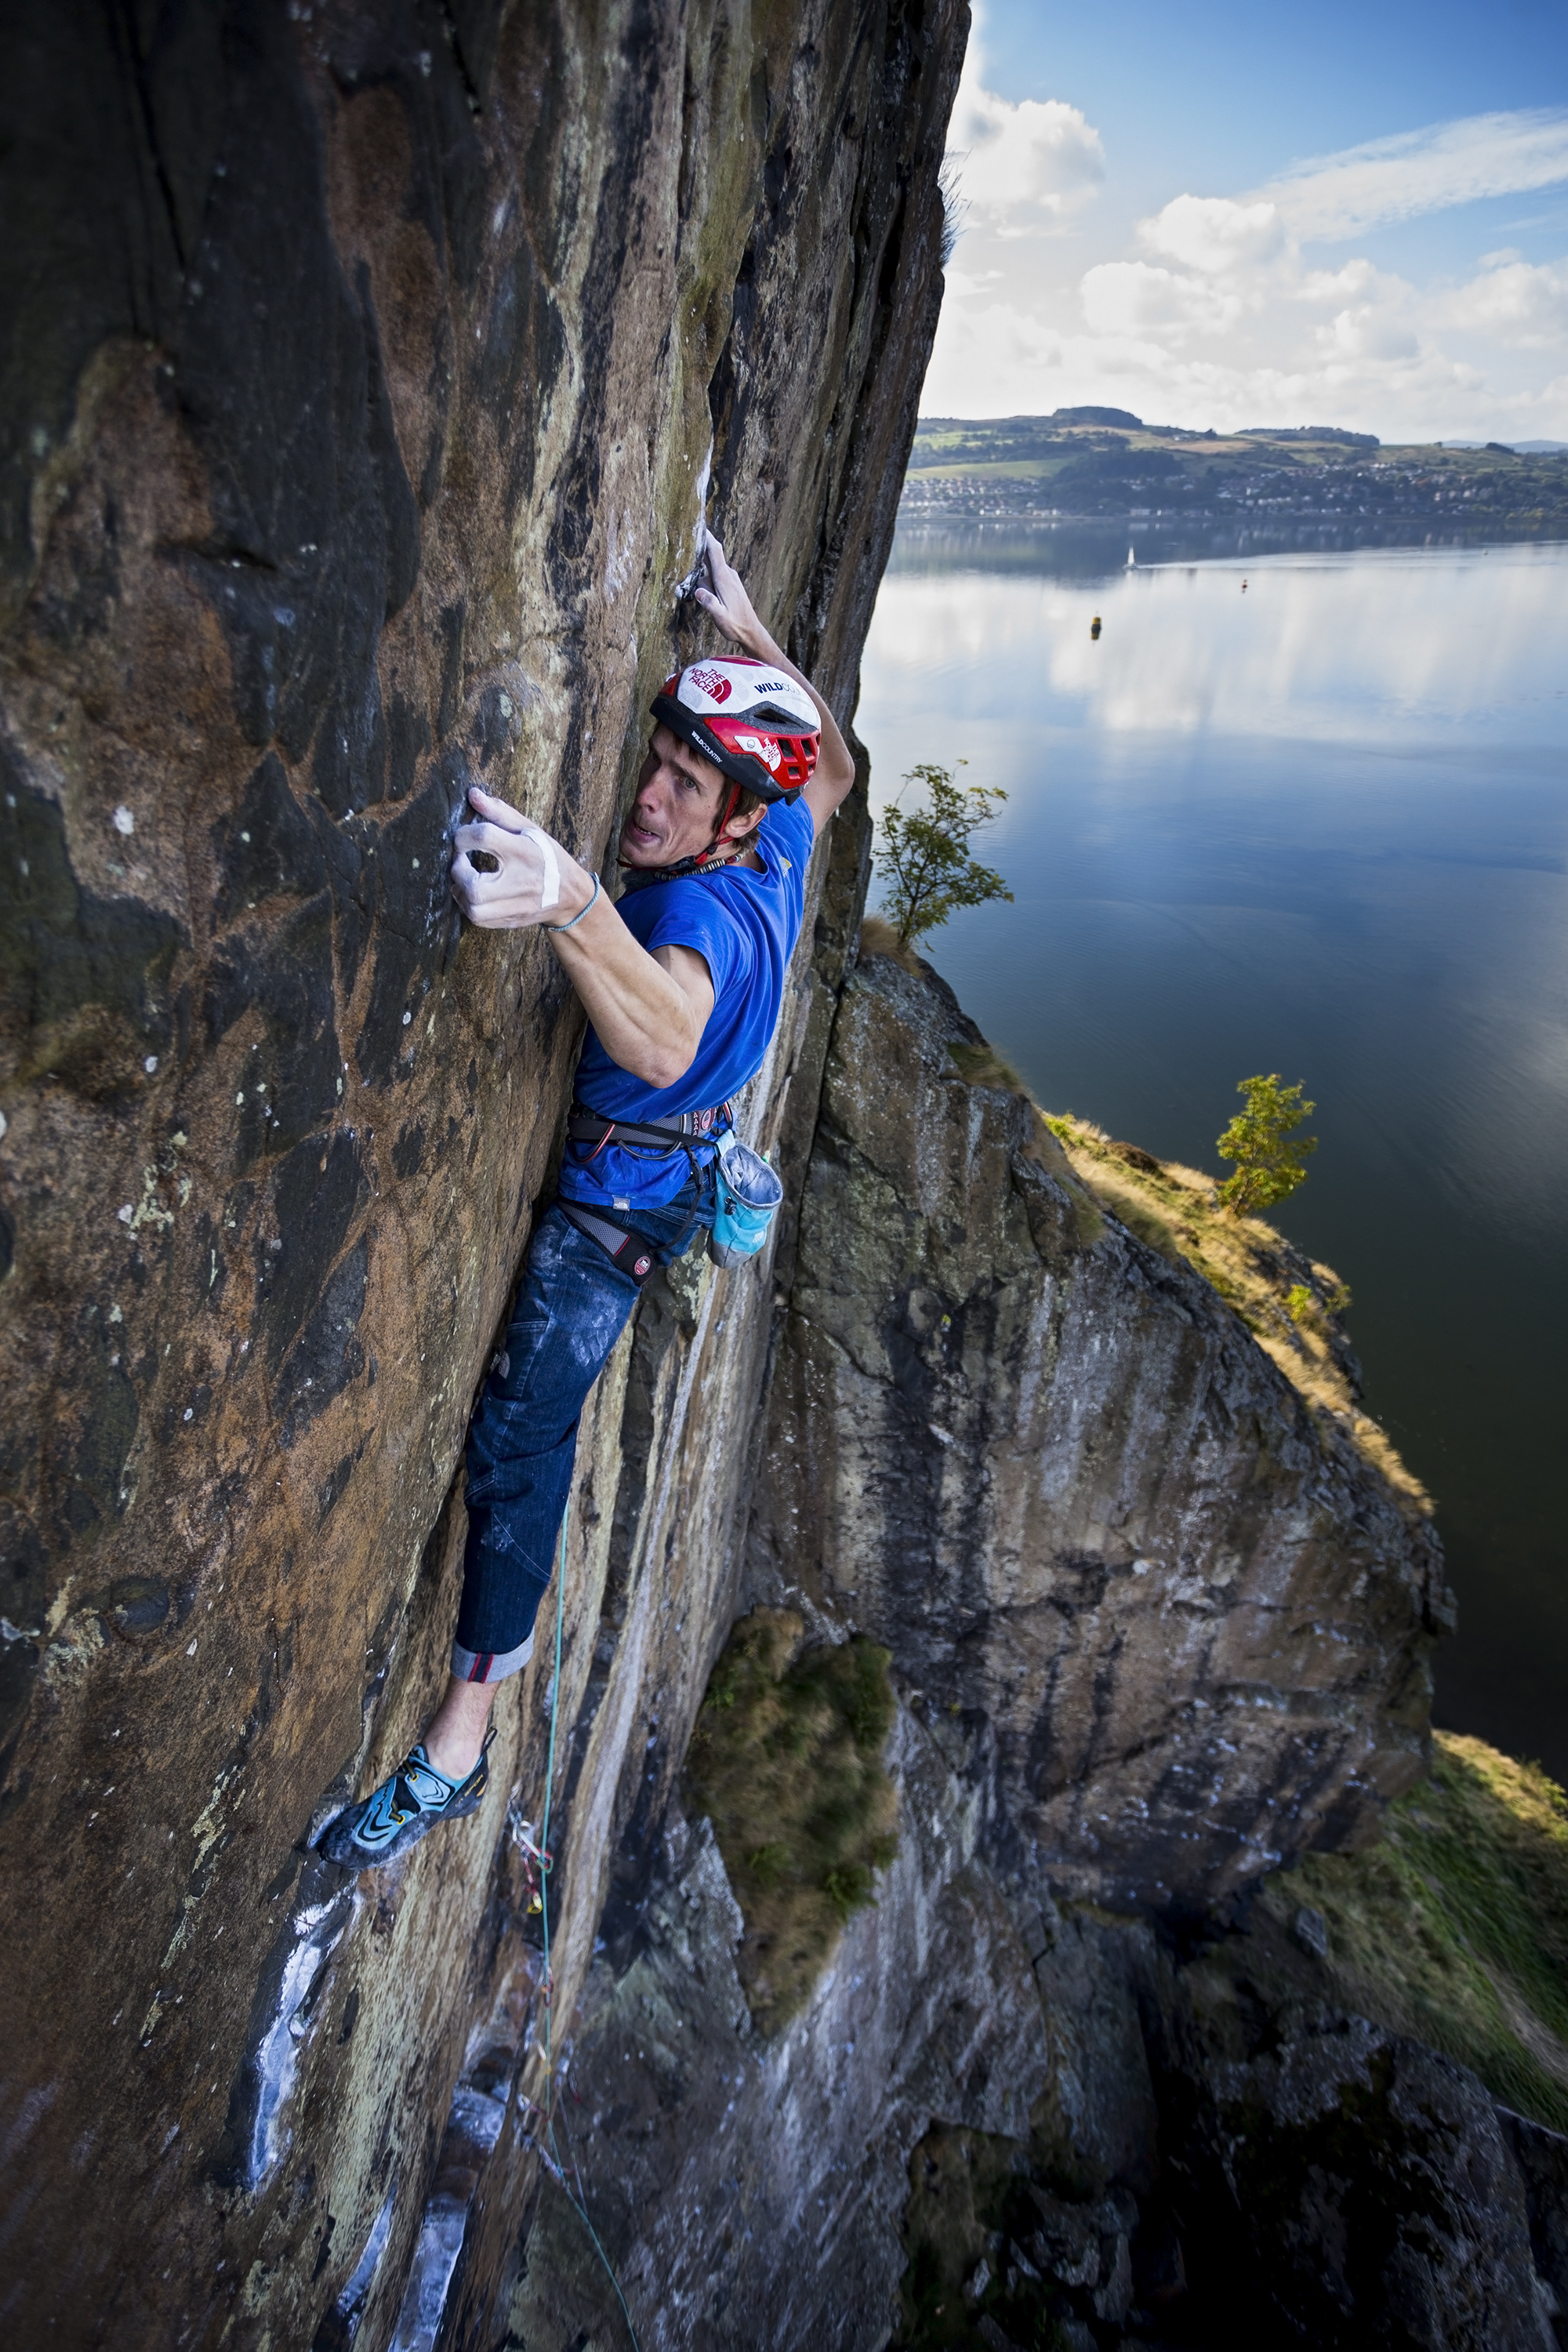
October - Natalie Berry, Dalriada
'Dalriada' on the north peak of the Cobbler was one of the reasons I first moved to Scotland. Seeing Dave Cuthbertson's photo of Dave MacLeod on the upper section of the route made me really want to move North and check out the climbing. We were lucky enough to get to shoot it for Hot Aches film 'Transition' with Natalie Berry making the first female ascent. Amazingly we also got unseasonably warm and settled weather for Scotland in October and it was the perfect day to shoot photos of the route.
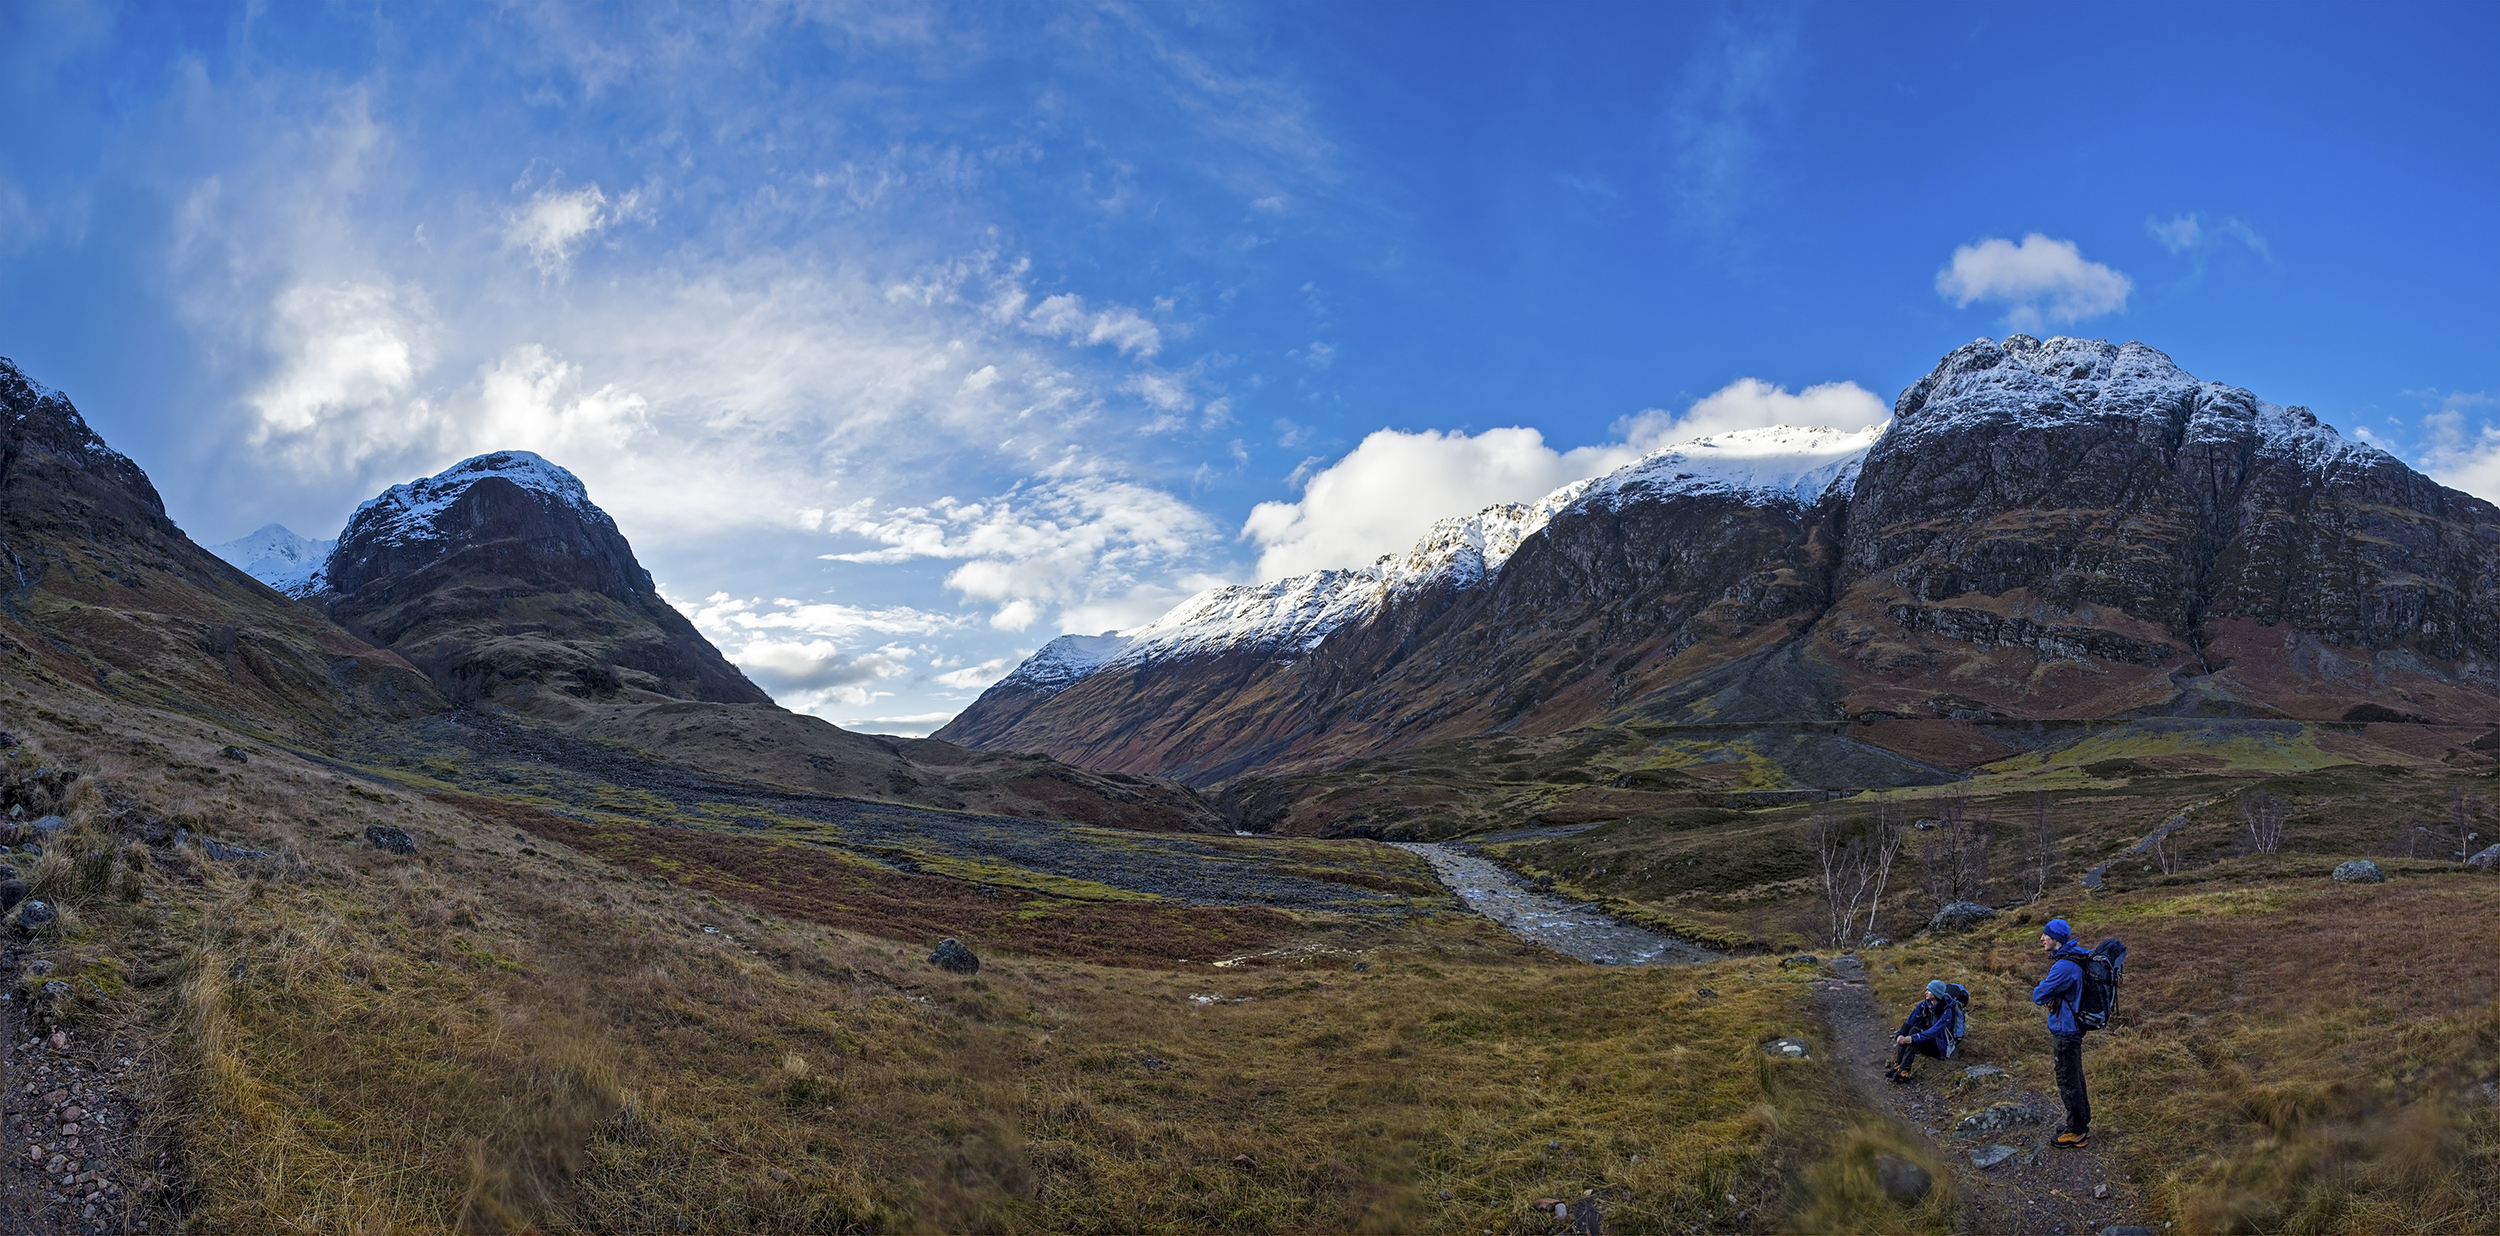
November - Autumn Colours, DUNKELD
November is always the quietest time of the year photo-wise, usually due to being locked for hours on end in the edit cave trying to get the year's feature length film finished in time for the Kendal Mountain Festival at the end of the month. This was a rare day of escape from the dark confines of the studio, climbing on the sport wall at Dunkeld. I've not seen such intense autumnal colours in a long time!
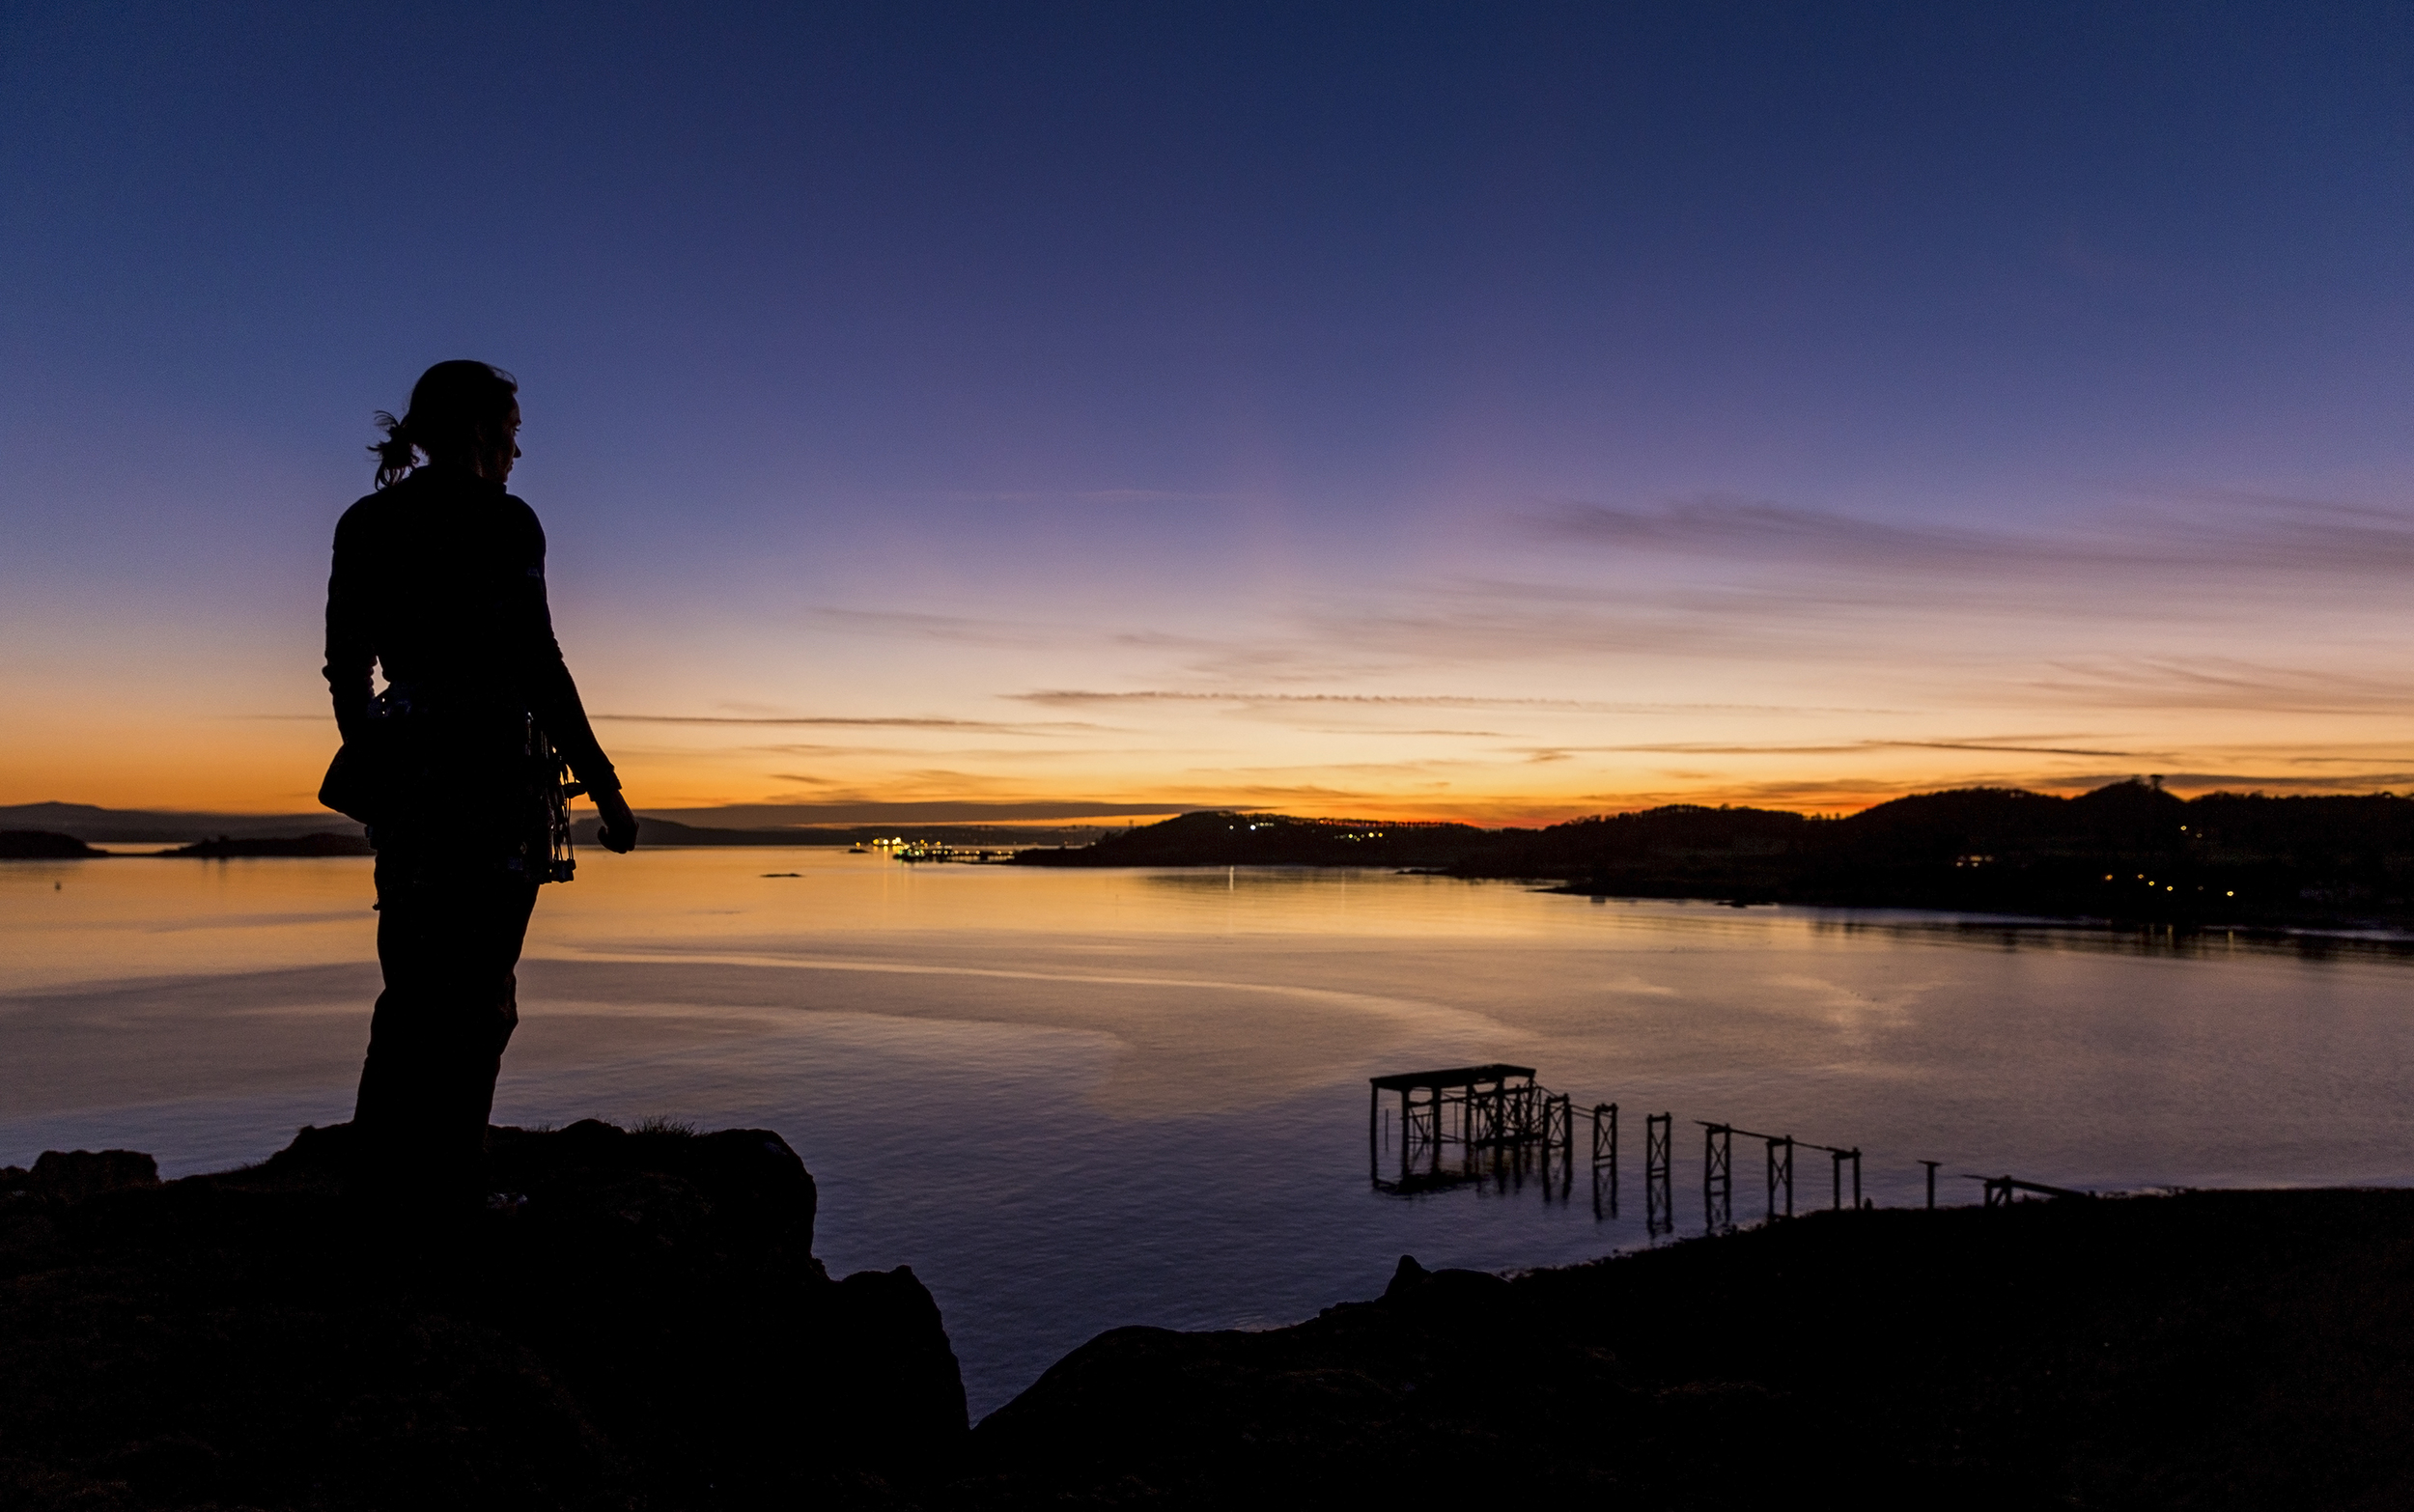
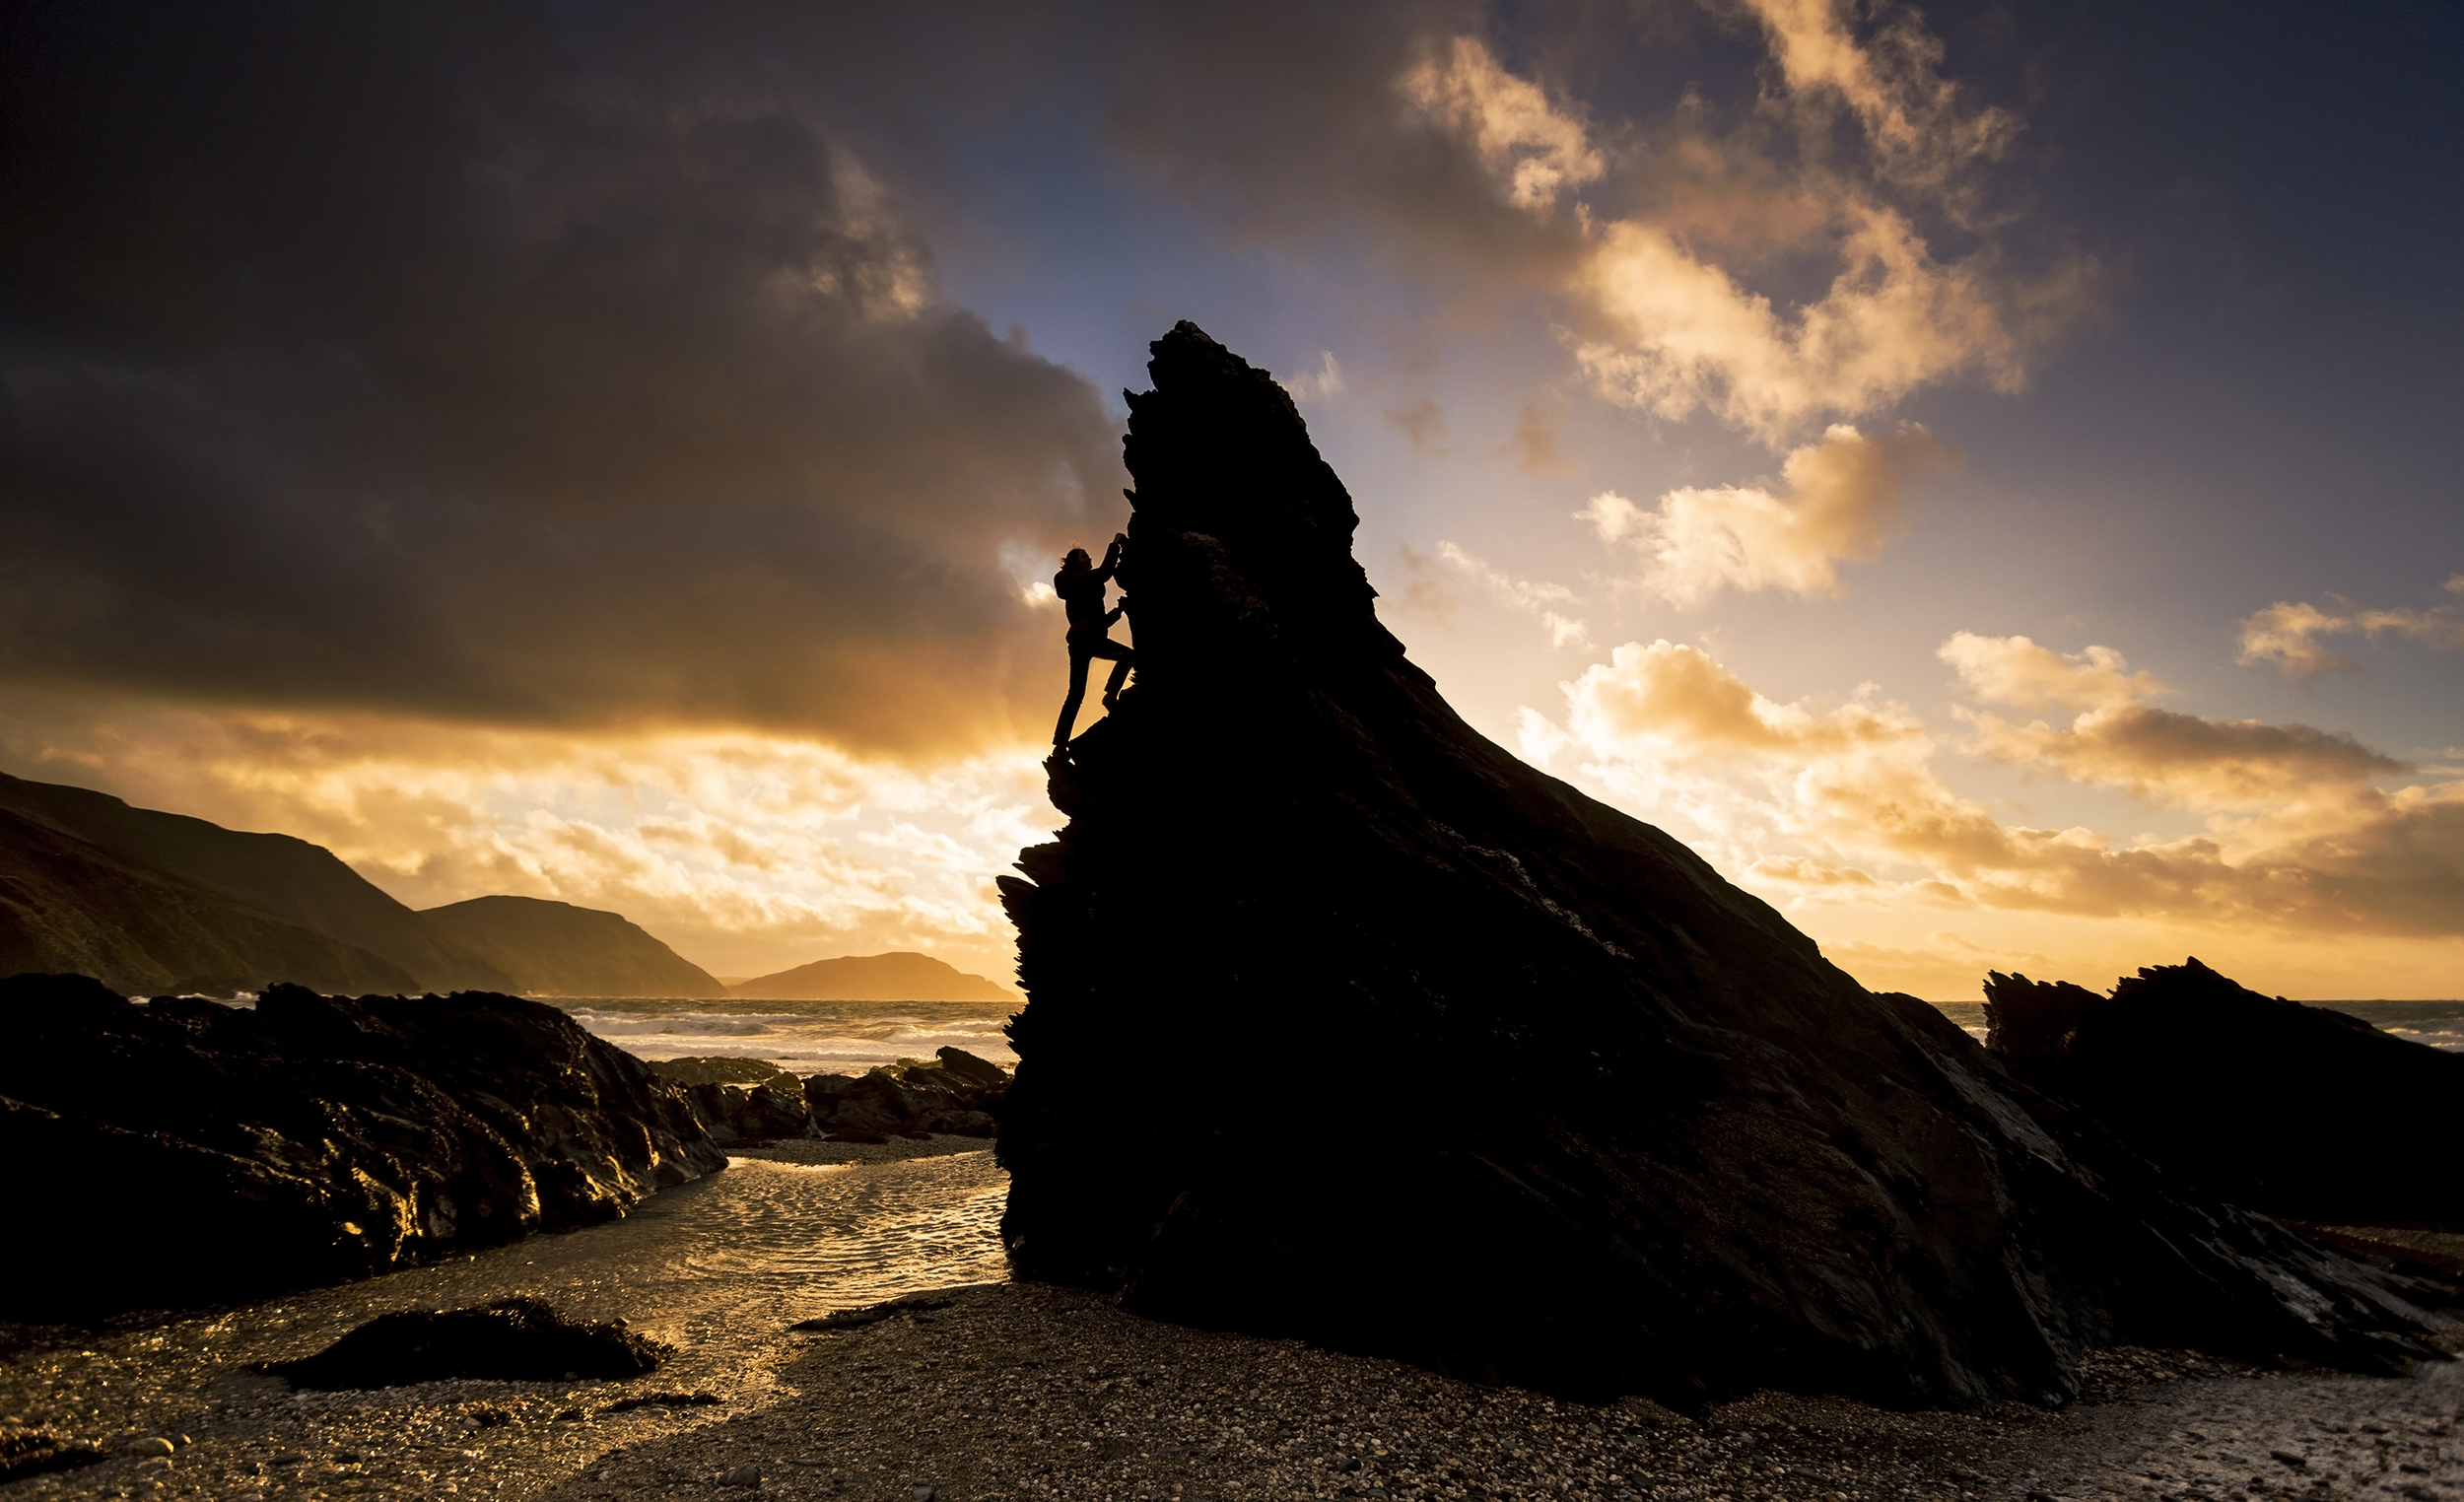
December - Sunset Soloing, Isle of man
A last minute addition to the Year in Pictures. Having grown up on the Isle of Man it'll always be a special place for me. Although the climbing there is far from world class it's great to get out every now and again and do some soloing at the Chasms in the south of the island. Although the gale force wind was pretty intense at times the incredible sunset more than made up for it.